Sunday 13 November 2011

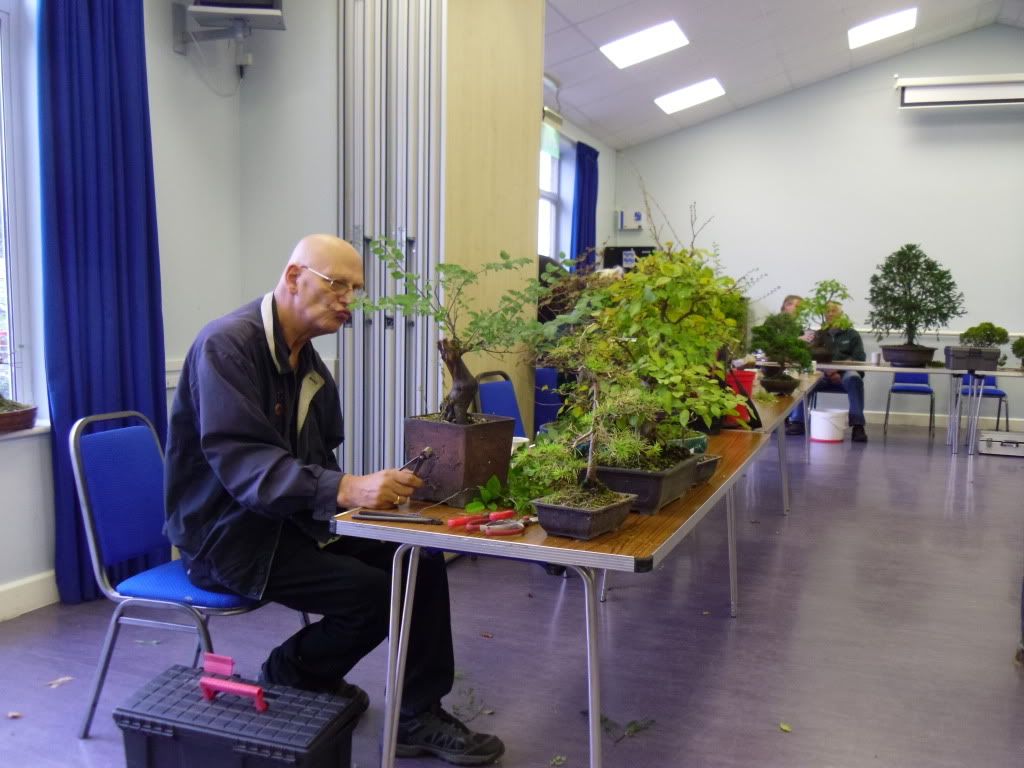
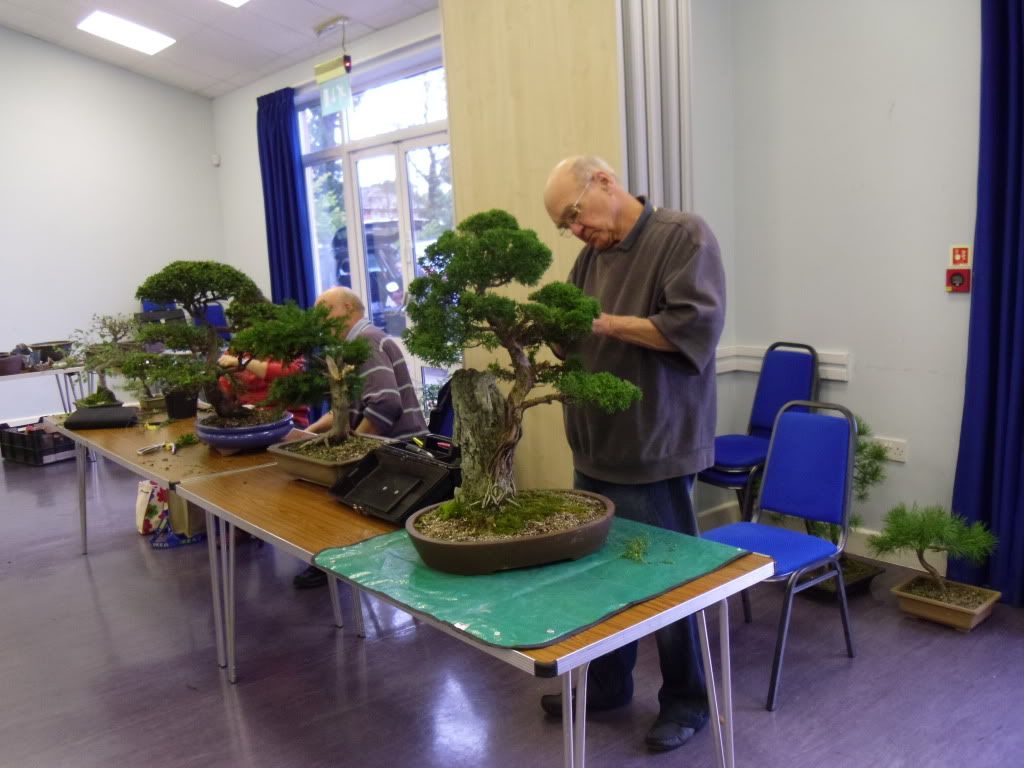
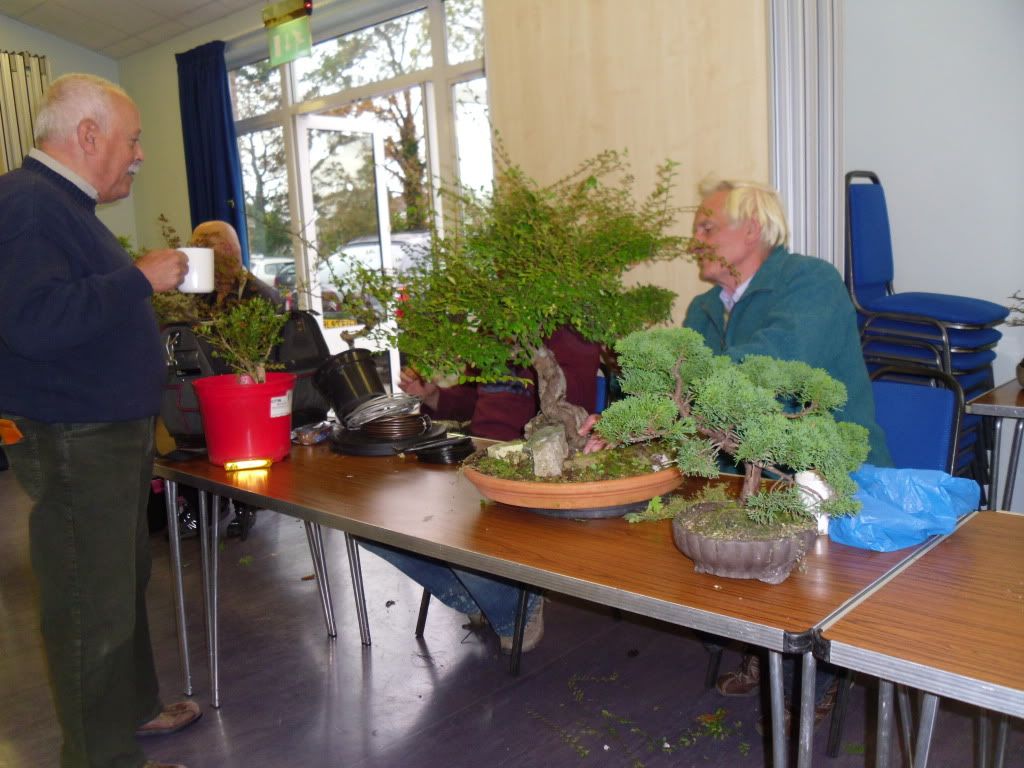
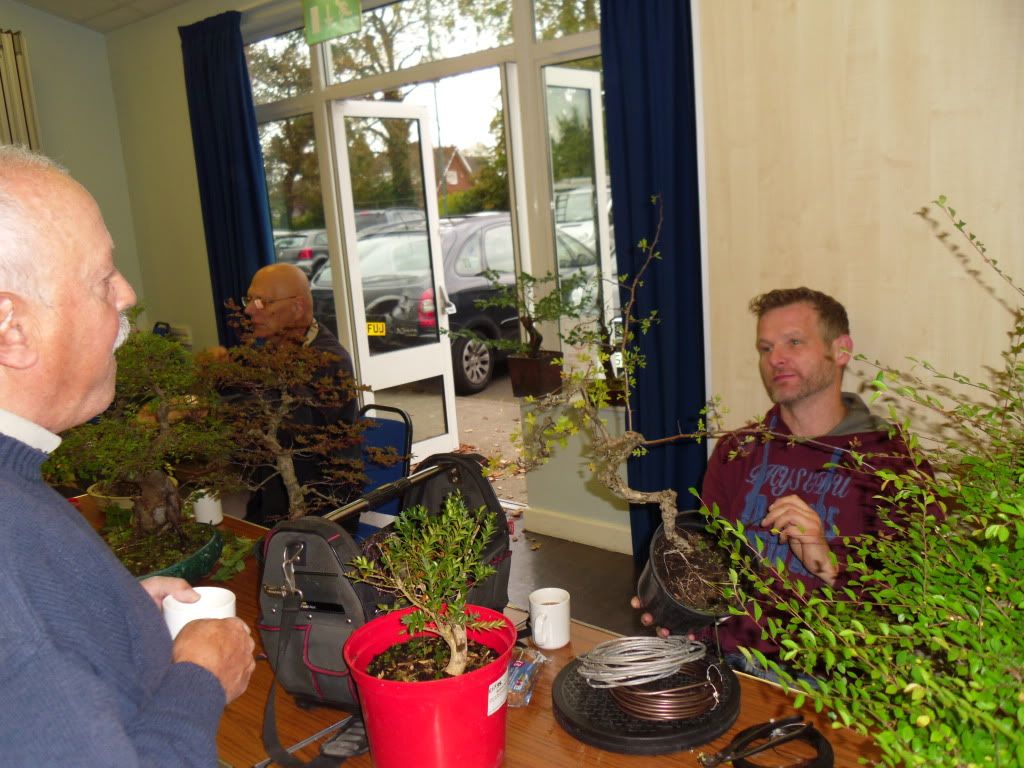
Heathrow Bonsai Show 6th Nov 2011

It is now a week since the Heathrow Bonsai Show but I've been so busy this is the first opportunity I have had to  share the photos I took and describe what a great day out I had. Even if my wife and daughter found it as exciting as I do shoe shopping.

Over dinner one evening mid September my wife asked if I'd like to go with our friends Paul and Debbie to a bonsai show in Harlington near Heathrow. Debbie's brother was Mark Moreland was organiseing the event for the second year and had asked if she would come and check it out. Well needless to say I didn't need asking twice and added the sixth of Nov to my bonsai diary.

With a three year old in tow we couldn't get there two early. The show was really well sign posted with large white boards around the very built up congested area. Not that we needed them as our hosts grew up in the area and knew every road and side street.


When we arrived I was introduced to Mark and found him to be a really friendly guy. We had a chat about the event and how pleased he was that it was at that point a huge success with not only lots of bonsai enthusiasts but also plenty off the street passers by and people who had seen the advertising around town. I was  very pleased to see a good showing of Wessex Bonsai Society members. I think I counted eleven in total. There were also a fair few trees I recognised from work shops and the summer and winter shows. There were two large marque style tents and a small hall displaying trees. One tent was dedicated to the Heathrow Bonsai Club's trees and the rest were filled with some lovely trees from clubs all along the South of England. I did have one tiny critique that was, the cladding on the walls in the main hall made for a poor back drop for photographic reasons. Which of course I'm sure you will agree from the photos I've included in the slide show below. I didn't include a photo of every tree from the show because some of them just didn't come out very well. Mainly because of the wooden cladding back drop.
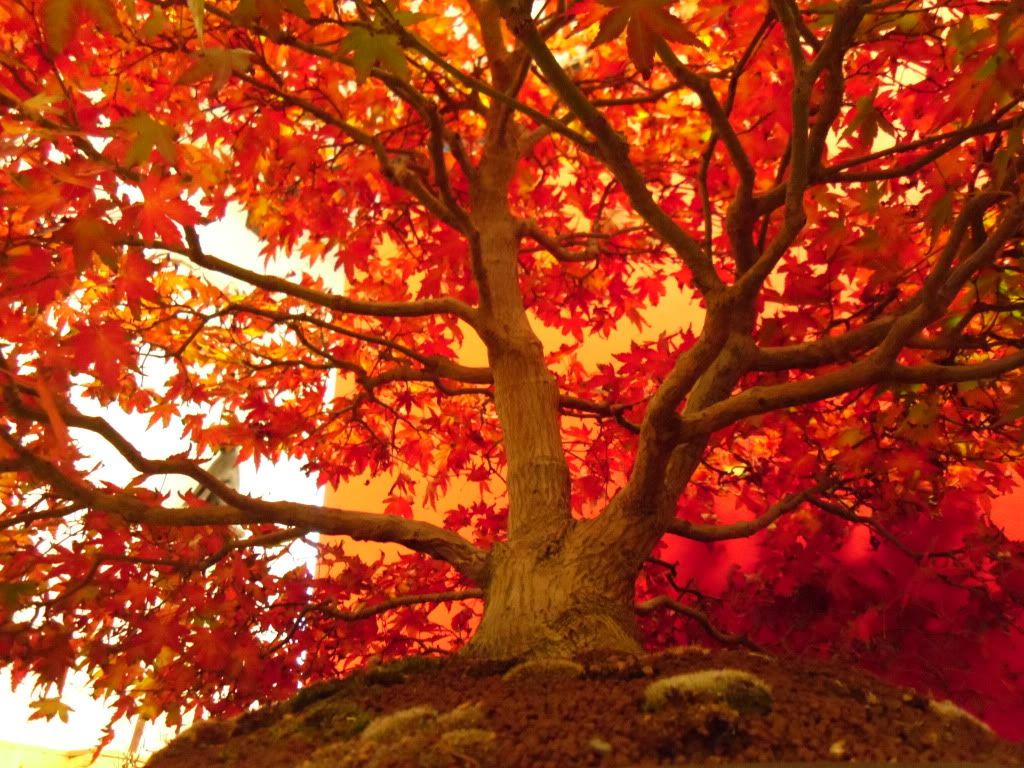
I took this from underneath the large maple.
I'm very impressed with this photo.


There was also a demonstration by Kevin Wilson on a monster of a larch. I didn't personally catch the carving at the beginning or the finished tree after wiring. In truth all I did manage to catch was three guys who I didn't know of wiring the tree up. Not really the most informative element of the demo but that's what happens when you go with your un interested wife and young child. If any one has a photo of the finished tree than please email it to me bonsai@halowebdesign.com


Lee Verhorevoort was there as the only bonsai trader with a room that had been transformed in to a bonsai store. I think he sold quite a few trees as I know of at least six that went to weetrees members. A couple of great white pines among them. I pointed wifey in his direction but didn't go the whole hog and start pointing out what would look great in my developing bonsai garden because as a Christmas present. after all, I knew she wouldn't of been able to smuggle it back in the car without me seeing. I met Lee a few months back when he came to one of our club nights to do a talk on maples. I found him one of the most informative speakers we have had at the club and would love to have him back again soon. I've just looked at his website www.lvbonsai.co.uk and found out his bonsai nursery is very close to where I was born and bread. I shall make sure I set by some time to pop in when I'm next up to see my mum.


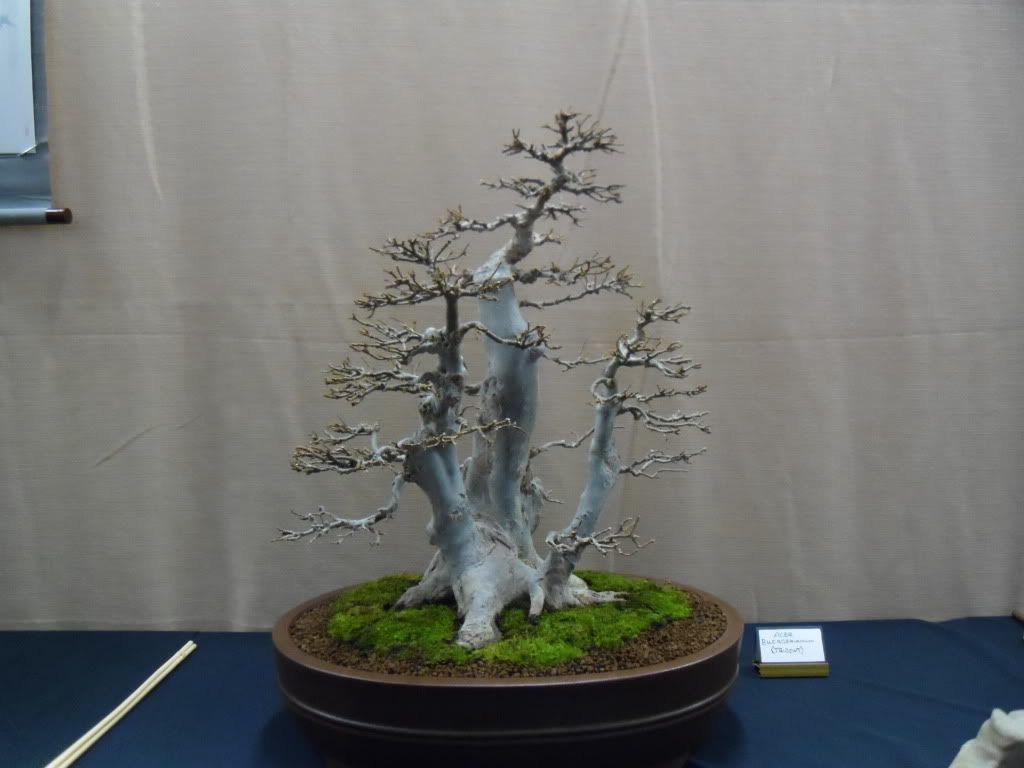
My favorite from the day.
As always it was very difficult to chose a tree but for me I think this maple would of been a good tree to sum up a cold day. There was a good five I thought were outstanding but if I had to chose one then I think I would have say this would be it.

A big thank you to Mark and a big thank you for reading through the write up and I can honestly say if you can keep the first week end of 2012 free in your diary for next years Heathrow Bonsai Show. I can see it becoming bigger and better over the years and a must go to event in the bonsai diary.


Tuesday 25 October 2011

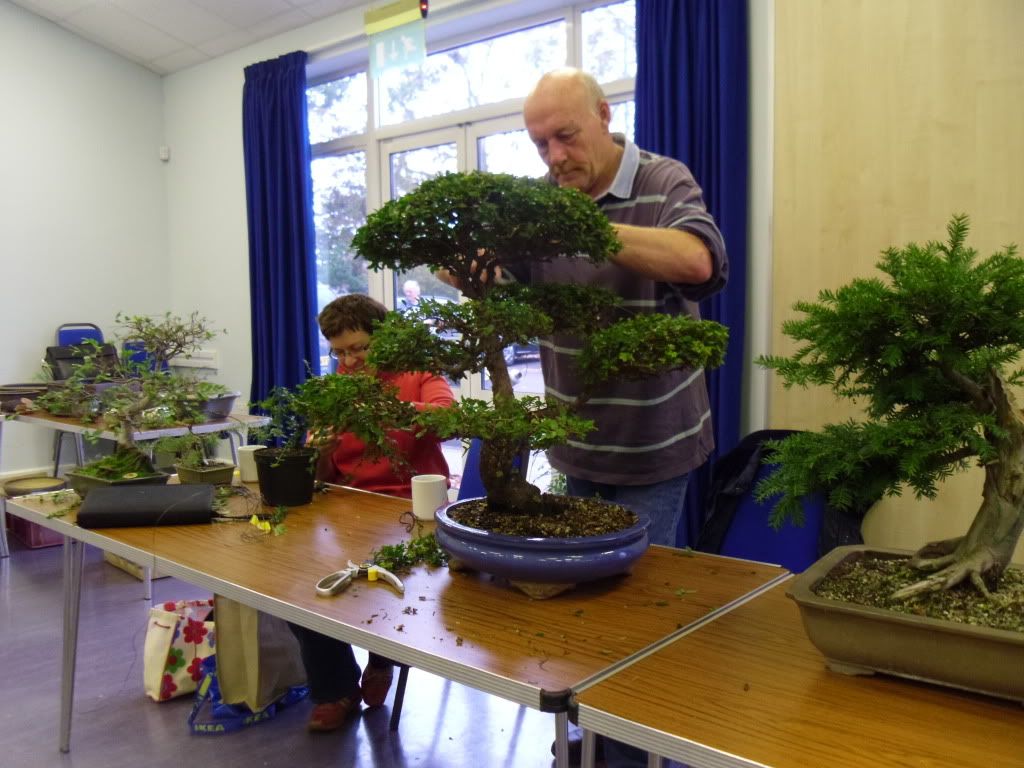
John Pitt Join's Wessex Bonsai Sunday Workshop. 23.10.11

I've been waiting in anticipation for today's workshop for quite some time. Not because I've something I especially need to work on in the company of others. Mainly because I'm very young in bonsai terms the trees, or should I say material I currently own don't have that much that needs to be done this time of year as they mostly need to either thicken up there trunks or grow more up top before I can start trying to create an image with them by pruning and shaping. The reason for my willingness to attend this workshop so much is I needed to ask for some advise on where to try and take some of my raw material to transform it in to trees.

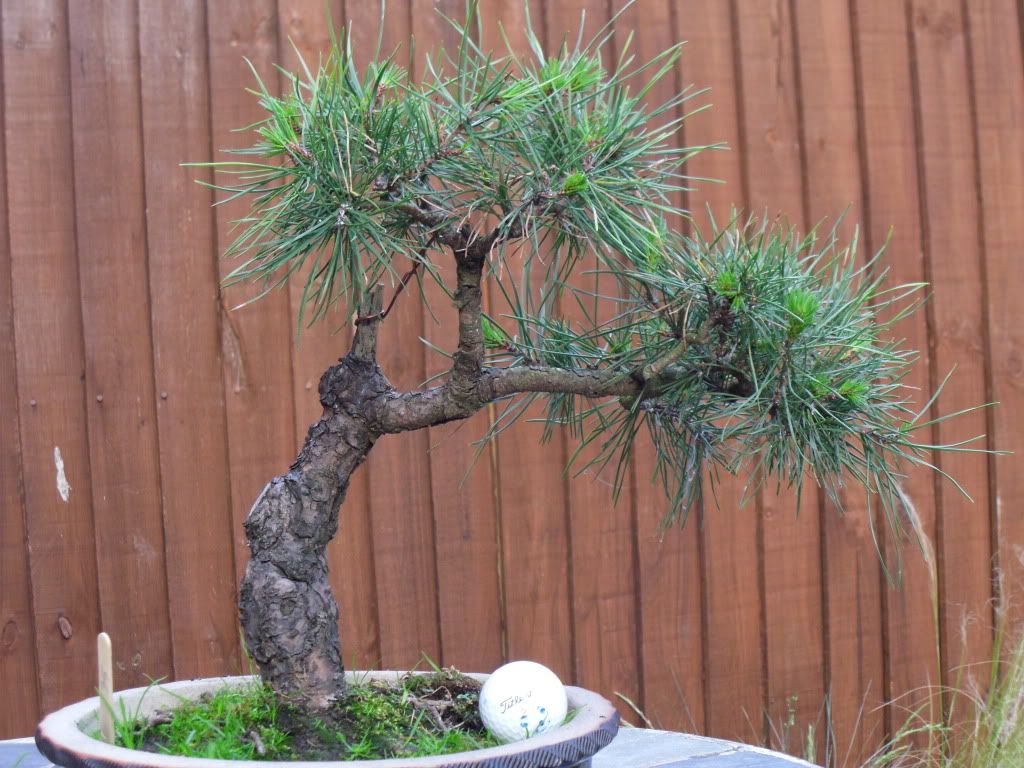
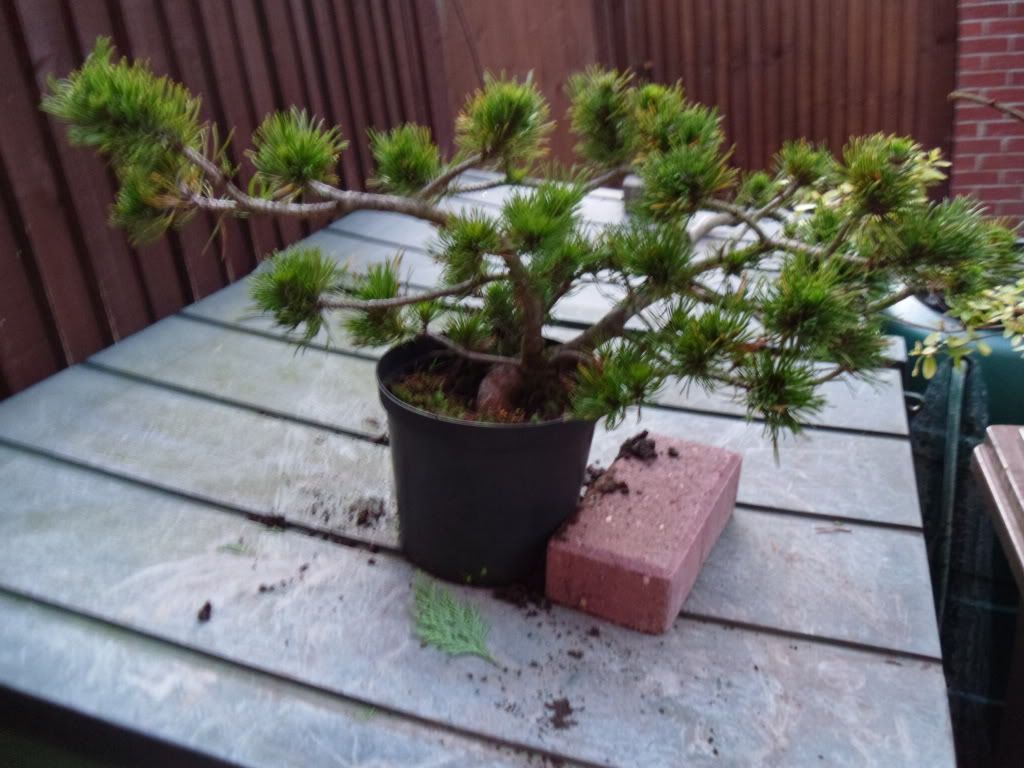
The main bit of advise I was looking for was on a Scots I bought from the member of Wessex Bonsai Society that was emigrating to New Zealand back when I bought my Cedar of Lebanon at the start of the summer. The tree like the Cedar was potted in some awfully heavy soil with little drainage holes so I rectified that, Well at least I thought I had but after speaking to Antony at the workshop I now know I need to further improve on this. He explained that pines like water but don't like to be wet. Sounds strange I know, but what he meant is in nature pines will grow best where they have plenty of rain but prefer if it drains through very fast and don't leave the roots sat in the wet. So I've been advised to leave it how it is until the end of the winter months as its not bad just not as good as it could and should be and correct the mix in the spring to allow the summer to be as productive as possible.

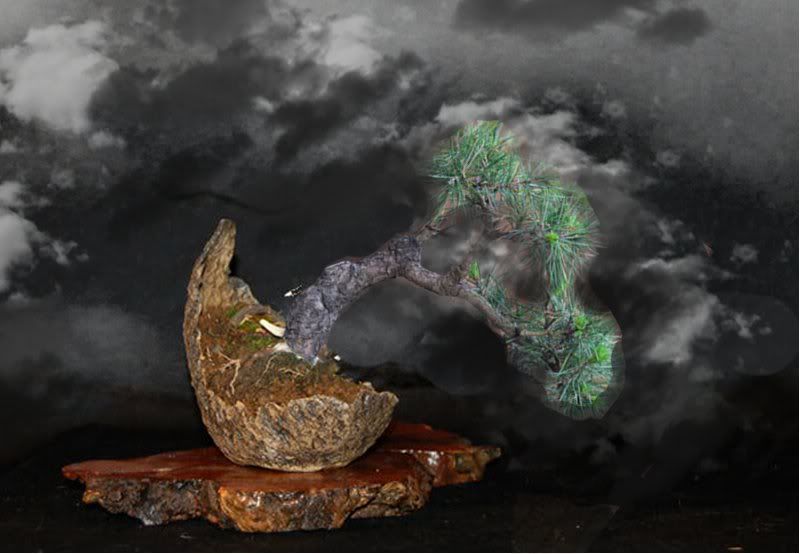
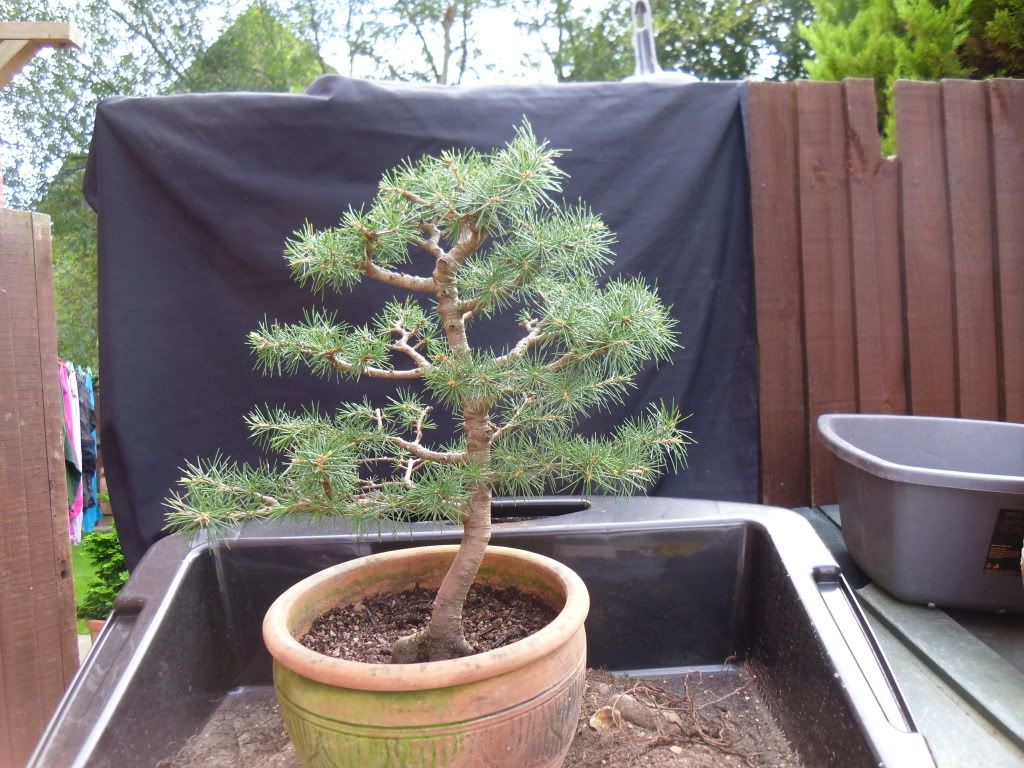
I'd also been trying to bend the branches up from where they started when I first bought the tree to a more upright position in anticipation for re potting it set at an angle to represent a tree growing on the side of a mountain. I have had a go at creating a virtual image of roughly where I would like to go with this tree. Granted the rather pathetic looking foliage pads on the virtual image are only there for demonstration purpouses and I would need to develop them a darn sight better in real like that I can manage in photoshop.


I spoke briefly with Antony about this Scots pine and he advised me because of its natural lean to what from this view would be the back, I should turn the tree 180 degrees for a new front. Antony they asked his friend and the club guest for the workshop John Pitt to join us for a chat and to help try and advise me on what the tree needs to become a more convincing bonsai tree.

John has been involved in bonsai since as early as the early 1990's after his father gave him his collection of bonsai trees when his eye sight was no longer good enough to continue caring for them him self. Between then and now John has become one of the best known bonsai enthusiasts on the circuit. But bonsai is not all John is known for. Many trees you will see at shows and in the displays of bonsai enthusiasts world wide will be living in pots made but John Pitt. He explained to us all, that after getting in to bonsai and wanting more and more pots for his ever growing collection but not having the funds to buy them, he started making his own and after time had not only taught him self how to make his own pots but found there was a real demand for his hand made pots. John now works creating ceramics on a full time basics. He had brought a few of his bonsai and accent pots along for any one who wanted so buy but I got the impression is was only as a gesture and he was in no way peddling them like some visitors to the club can some times do.

John had a look at my Scots pine and asked what I had planned for it until now. I explained that I saw it as a pine growing on the edge of I mountain holding on for its life. He agreed and said it needed a dramatic planting to look realistic because of its strange growth. He explained how the two branches needed to be defined as branches and a trunk. He advised which would work best as a trunk and then showed how I would need to bring the branches down and in to compact the tree before trying to create foliage pads. As he showed me what he thought I should do, he explained why he thought that and why it would look such in nature. I found this really helpful as apposed to just being told to "do it this way" because he said so.

John also said there would need to be some quite heavy branch bending involved but very achievable. He asked if I had had a go at using raffia to give extra support when inflicting strong bends on thick branches. When I told him I have seen it done but yet to of had a go myself Antony volunteered to help 'walk and talk' me through it at the next workshop which will be the 8th of Nov. John said he thought it would be best if I wired it with two wires instead of one larger wire. The reason for this is to spread the pressure more and reduce the risk of breaking the branch. He also explained to my why you need to have the two wires running tight next to one another. It is because in order for the branch to bend it needs to stretch one side and give the other. Therefor there must be space between each wire. It makes much more sense now I know that. For anyone who wishes to see some of the ceramics John Pitts makes or inquire about his workshops you can find his website very helpful. I can't wait to get started on this as it will be something new to do.

I also wanted some of the experienced members to look at a worrying scar on a potential bonsai tree I was given. I've been meaning to take it up for someone to look at for a few months but I've kept having to miss the workshop Sundays due to family and golf commitments. The scar to me looked like canker. Canker is a fungus which infects the branches of fruit trees causing sunken areas in the bark and these develop into distorted areas which may girdle the branch, eventually killing it.
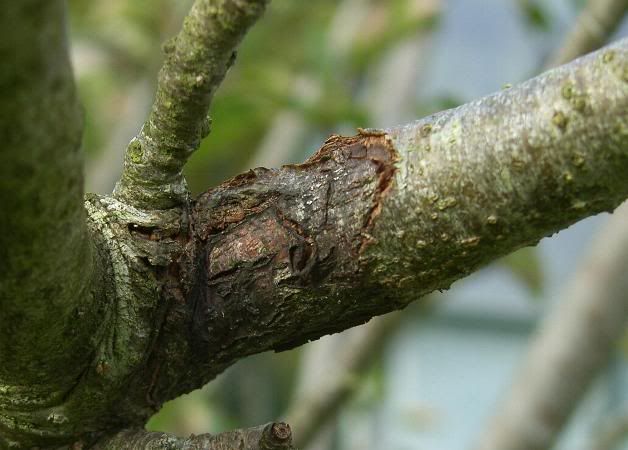
Here is a photo of a confirmed canker
Fortunately the guys at the club thought the suspect patch on my material to be just a rather bazaar looking pruning scar so I can put my mind at rest on that front. The material is a long term project and I've not put any work in to it yet because I've only had it a few months so am just feeding it up in preparation for getting it in to some good soil in the spring so I wouldn't be overly devastated if the scar was in fact canker but it would of been such a shame for something that I was given to die once I got my hands on it.  

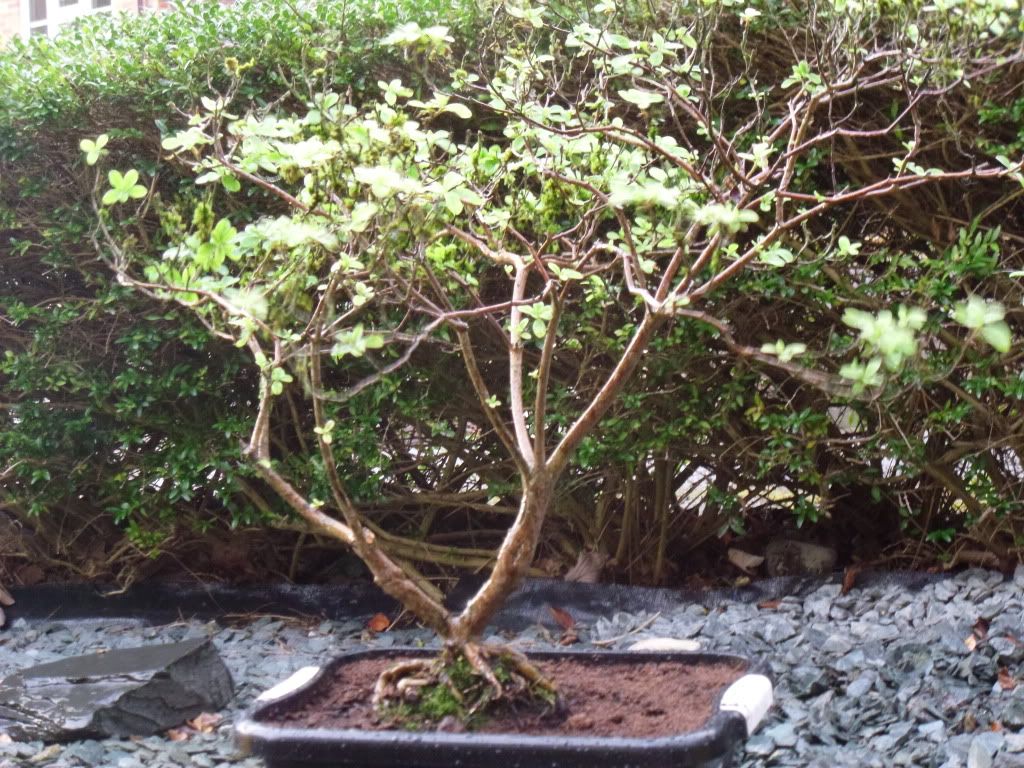
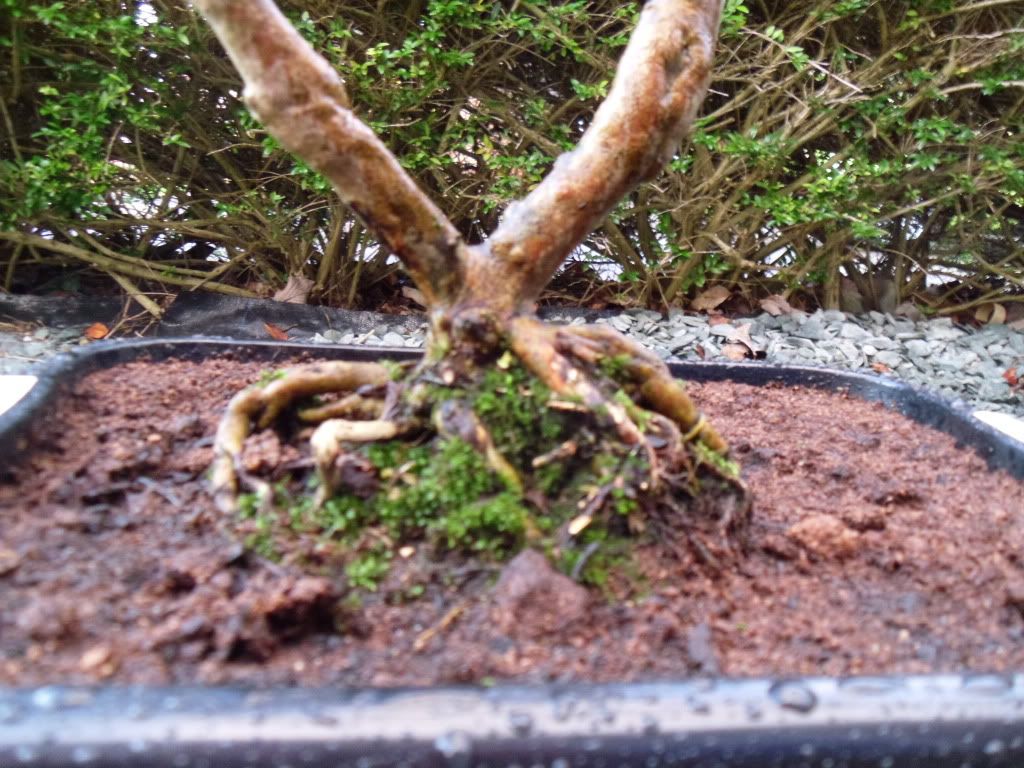
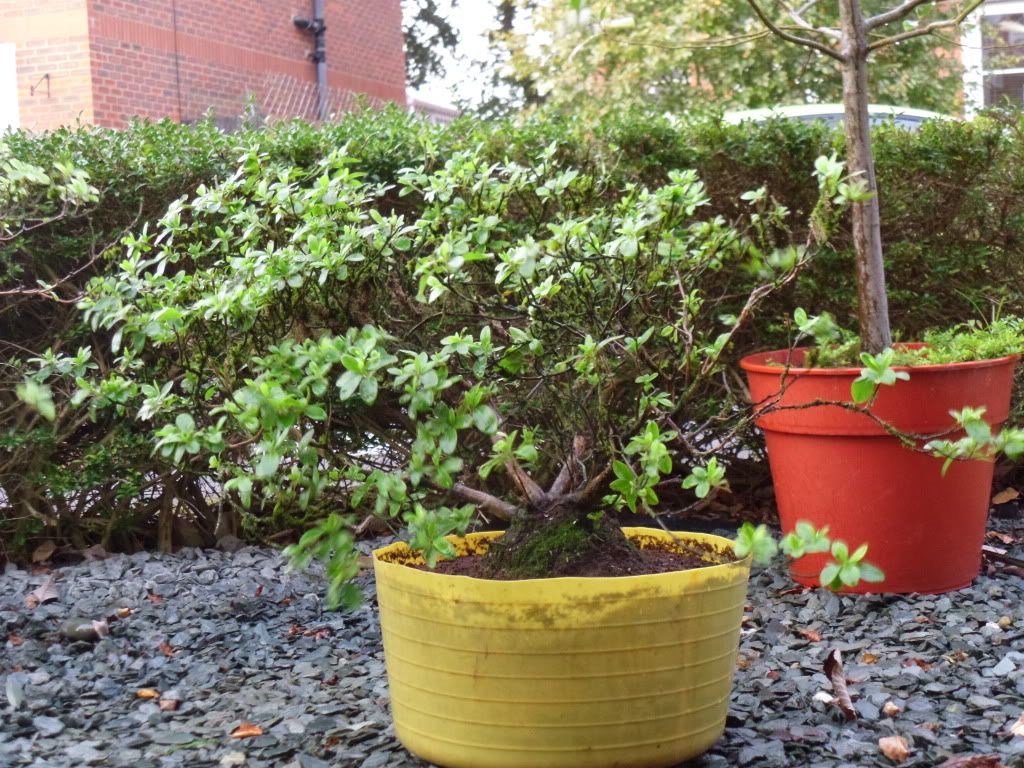
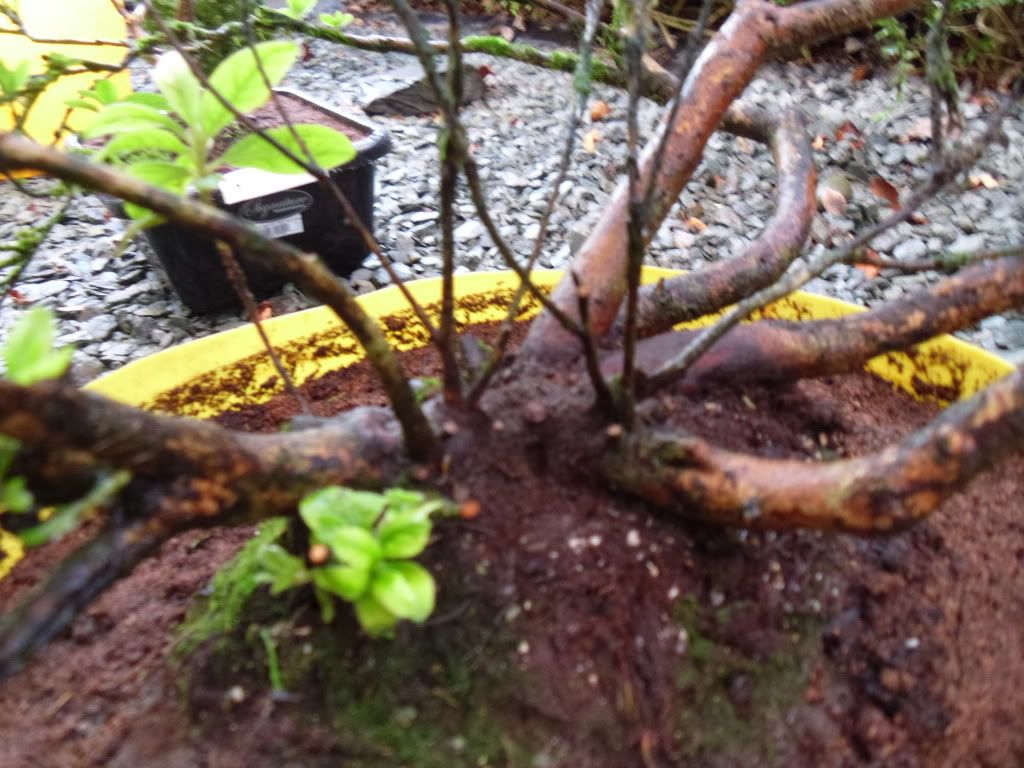
I would of also liked identification on a stump that I saved from the landfill. It was sat on a pile of timber that had been cut down from one of my customers gardens. There was just the stump that you see in the first photo along with its rather large tap root that was as big as the stump its self and some small fibrous roots I cut most of the large tap root off to enable it to get in to a shallower pot and then added some soil. The soil mix was 3 parts horticultural grit, 1 part ericaceous compost, 2 parts John Innis number two, a hand full bone meal and a hand full of spent coal from my bbq (I've found the bbq coal an amazing instant nutrition for the garden and where ever I've used it I've had great success). Within a couple of weeks the stump had developed buds all over the shop. And after just a month it looked like it does in photo three. It would be great to know what this tree is so I could feed, protect and care for it accordingly but unfortunately no one had a clue what is is still. One chap said to wait until it flowers, which he said it will most defiaintly do and then let him know as he will be able to confirm if it is what he suspects.


But despite not getting a name for my mystery stump I really enjoyed the workshop and am very glad I made it. Look forward to my nest blog entry and as always feel free to comment on any thing you wish.

Here a few photos of from the day for you to look over.


Thanks for looking,

Dean

Sunday 16 October 2011

Club Night Tuesday 10th Oct 'Pests and Diseases' With Amelia Williams

Its been almost a week since club night for the members of The Wessex Bonsai Society. I've been really busy this week with all sorts. Some bonsai related but mostly not. So busy in fact, I had a customer offer to allow me to go around and collect a rather old, thick and interesting trunked Pyracantha they were removing from the bed in front of there bed room window. Unfortunately they were not wiling to wait a week until my work load had eased enough for me to take half hour out. They dug it up and the council dump got it instead. You can't win them all.

I must apologize for not having any photos. I forgot to take the wife's camera.

If I'm completely honest when I saw on the back of my membership card that Tuesday would be a talk on pest of diseases I thought to my self that I should fill my tank with plenty of coffee as it could be one of those head bobbing nights were the fatigue of a hard days work and mind numbingly monotonous voice using long Latin words that I don't understand and there for lose the gist of what they are saying along with the will to live could only result in me snoring my head off in the back row.

I am please to announce my fears were completely unfounded. But I did drink four cups of double spoon coffee before the guest speaker arrived as a precautionary measure. Something that I was to find out was the theme of the evening. Precaution that is, not coffee.

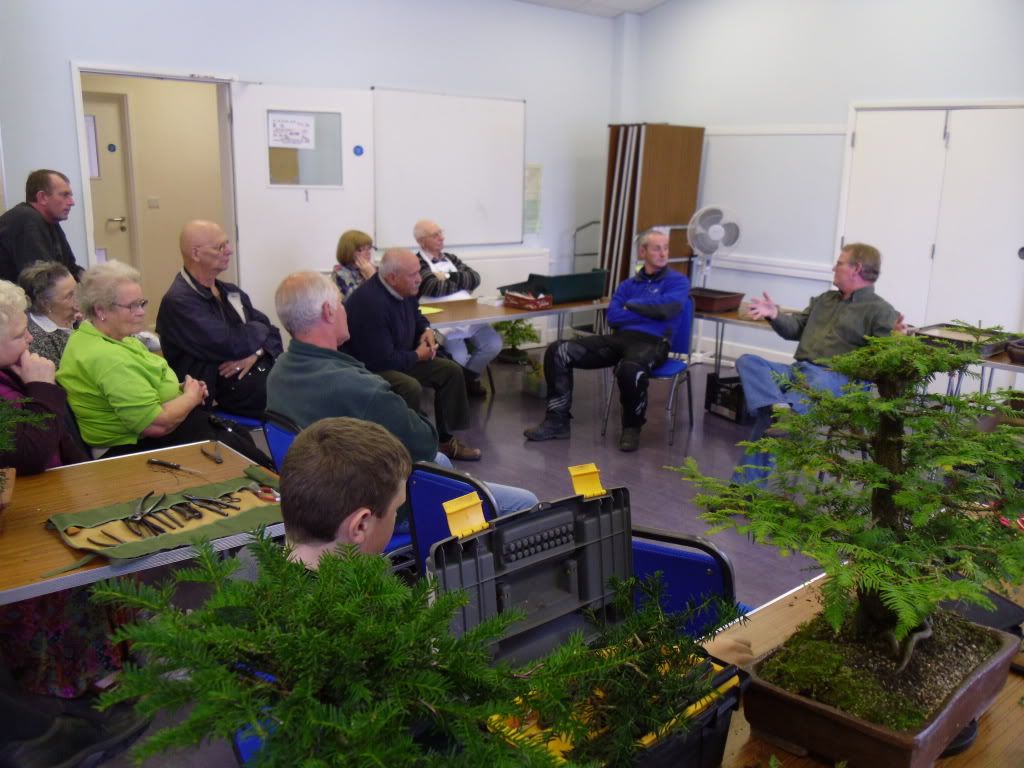
The evenings speaker had travailed over to us from Tidworth. An Arboricultural Consultant (Tress expert) named Amelia Williams who has many years experiences and an abserloute abundance of knowledge where trees in there fully grown form are involved and roughly 4 years experience with bonsai trees. She had brought plenty of visual flash cards for us to thumb through while she explained how a tree defends its self by creating protective callus's around vulnerable areas such as bacterial infections and invading parasites. She had also set out a selection of small mame and shohin sized coniferous trees. They were listed from one to fifteen and we were all asked to, in the break take the opportunity to have a good close up look and try to name them all. She was a task master though as she was not just after the common names but the Latin to boot. Even some of the old school bonsai enthusiasts struggled with a few of the more obscure among them. I'll be honest I couldn't even get half of them with the common names. Never mind the Latin.

The main advise given regarding pests was protection is by far the best form of defense. With bonsai as apposed to large full sized trees we are at an advantage that we get in close regular and can normally see any little beastys before to much damage can be caused. She also said if you feel your soil is not up to task regardless of the season unless it is the depths of winter you should re pot. She explained that if you are careful not to remove many roots and improve the soil then the tree may not be in as good a condition as it could be but at east it will stand half a chance. A few eyebrows were raised at this but there were also a few nodding heads so I guess the jury is out on that one.

I found the whole evening very useful and now feel I know so much more about trees and the way they heal and also how easy they can come under attack. I must say the time we spent with Amelia was no way near enough and we all agreed that it would be great for her to give another talk on the life of a tree and the way it works in general from photosynthesis to feeding.

I can now look forward to Workshop on Sunday the 23rd. Malcolm the chairman said we should be looking at removing wire from trees that have been wired for a while and maybe wiring pines. But on a whole putting our trees to bed for the winter.

As always any comments please feel free.

Dean

Friday 7 October 2011

Cedar gets a re pot.

There are numerous reasons a tree's size will be restricted such as its exposure to natural light and the amount of water it gets. But the fundamental element to bonsai that is regarded as vital is the size of the pot the tree lives in. Whether a tree is collected from the wild of bought from a garden centre it will inevitably end up in a pot. When I began learning about bonsai I thought all trees were grown from seed in small bonsai pots or in the case of nursery stock, transplanted in to tiny pots as soon, or at least shortly after they have been styled. I now know this is not the case. Well, I say that but have come across many people who still try and develop bonsai in what should be a pot for a finished tree that only requires maintaining.

At the beginning of August I was lucky enough to visit the home and bonsai nursery of Peter Chan, Herons. Peter is a founder member of the Federation of British Bonsai Societies making him one of the country's leading authorites on all things bonsai. With an astonishing 21 Chelsea Flower Show Gold Medals to his name and even donated the bonsai collection at Wisley RHS. Some people have all the luck! Although the trees on sale at Herons were more than a little out of my price range I did learn a great lesson in growing on bonsai. After taking a long walk around the seemingly endless ranks of bonsai benches and taking in some truly outstanding bonsai I took my self away from the rest of the group and went exploring what Peter referred to as 'the growing fields'. Now I'll be honest, when I heard 'growing fields' I didn't know what to expect. But as I walked through Peters eight acre site it became clearly apparent that substantial bonsai reach there size and development in the ground and then in large tubs not in little bonsai pots.

The small pots that bonsai end up in when they are established and styled restrict the growth of the tree because they reduce the amount of roots the tree has to feed its self. Now the roots of any tree will continue to grow in search of more water and nutrition to enable the tree to reach its potential and desired size even when in a pot that is far to small to reach this potential. So what will eventually happen is the tree will become what is known as pot bound. Very common in neglected garden plants that have been grown in pots. Bonsai combats this by periodically removing the tree completely from the pot, removing the old soil that would of had most of the nutrition spent through the time the tree had been living on it, trimming the roots back to prevent the tree from out growing the pot you wish it to live in for the following period and then replacing the tree in the pot with new nutritious soil. This is what is referred to as re potting for obvious reasons.

There are of course other reasons for potting a tree in a pot that in gardening sense would be regarded as far too small. For reasons such as aspect and for aesthetics pots in final designs has a number of rules to be kept to when being judged for competition. I'll not go in to these rules in detail at this point I will no doubt write an article with more information on the judging criteria later in the blog. To give you a basic idea what I mean by aesthetics, the small pots give the tree an impression of size and make them look larger that what they are and there for more like a tree grown natural in the wild. There are also cascades that are planted in taller pots to give those viewing it the impression that the tree in growing from a shear face like on the side of a cliff or on the very top of a mountain.

So hopefully I have established just how important pots and potting is to bonsai and what an integral element potting is to learn and get right.

I have, with some help done one re pot on my large Scots pine bonsai but I've not attempted doing a full re pot unassisted yet. But two weeks ago I did what started out as a 'slip pot' to improve the soil in my Cedar of Lebanon. A slip pot is the term used when a bonsai tree is carefully slipped from its pot and then slipped in to a larger pot and back filled with free draining bonsai soil. There are a few reasons why one would want to do this but the most common is to improve drainage when it's too late in the season to perform a complete re pot. Most bonsai trees should be re pot in the late winter just before spring when the tree is in a dormant stage. Heavily cutting roots in the late summer will endanger the tree because it will throw out new fibrous roots that will more likely not withstand a hard winter.

In the case of my Cedar, I'd brought it along with a Scots pine in midsummer from a member at club who sold off his collection due to emigration to New Zealand. The soil it was in was a bit to compacted for my liking. By that I mean when I'd water the tree, it would take quite some time for the water to soak through the soil and would sit on the top. The pot it was in only had one small hole which I didn't think would be enough. I'd read in a couple of books and been told from a few members on weetrees that Cedar of Lebanon need very free draining soil much like the hills and mountains of Lebanon where they are most commonly found in nature.

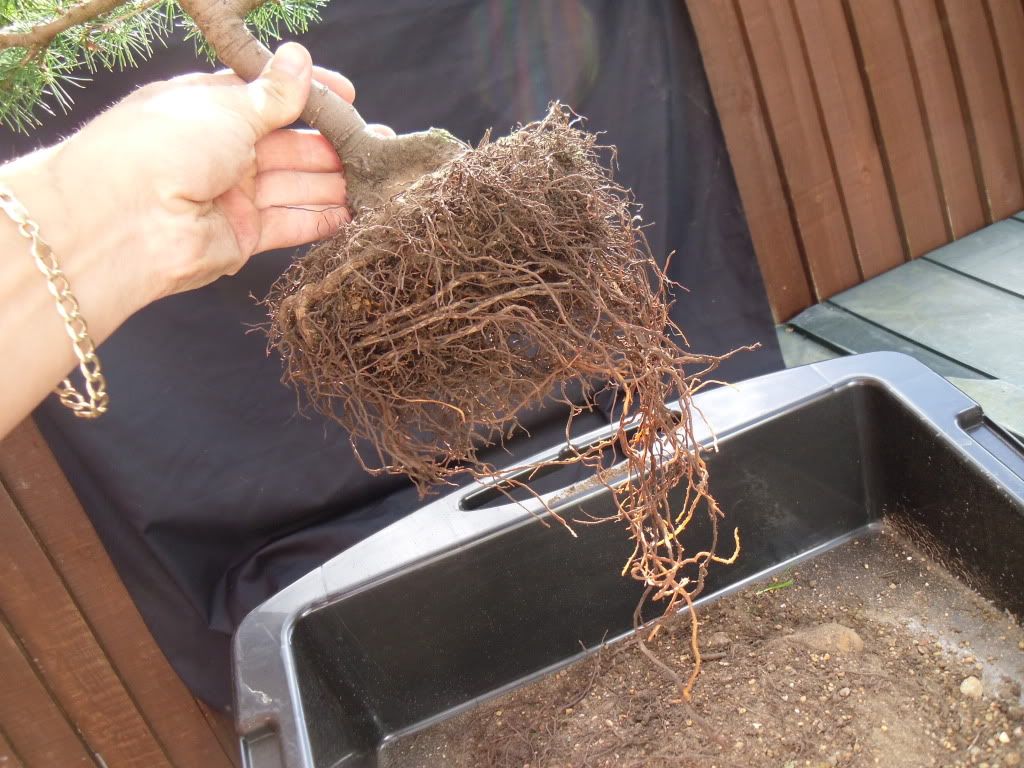
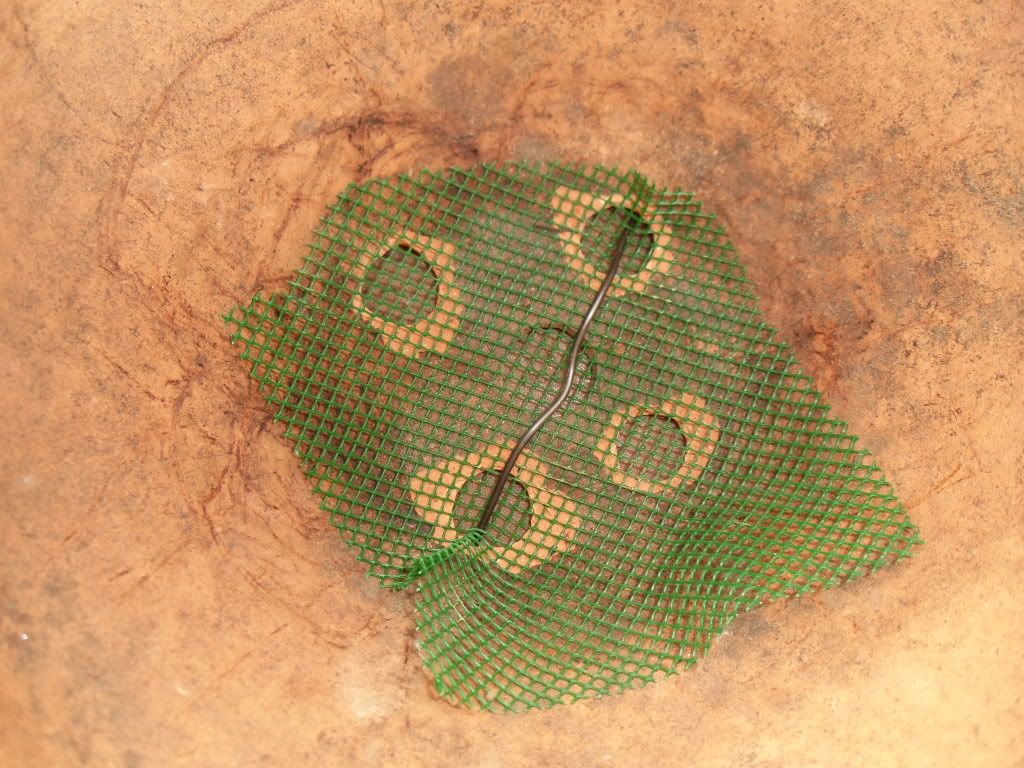
I'd hoped to slip the root ball with the compacted soil out in one, and then place it in to a larger pot with more drainage holes. Back filling it with a very free draining bonsai soil mix so at least the outer edges would drain off and not leave the tree in soggy soil through what is likely to be a very cold winter. The root ball came out surprisingly easy. Well, in fact a bit too easy. The whole root ball almost fell apart. The bottom half was made up mostly of large stones but below them were some very long black rotten roots. I figured the best course of action was to cut them out and ease off as much of the old soil as I could without overly disturbing the healthy roots. I made sure I left enough old soil but gave it plenty of new to give the desired result of improving the drainage which I checked once I had finished with a good water. I also addressed the small single hole in the base of the pot. I had originally planned to pot the cedar in a larger pot, This is commonly referred to as 'potting up' As in, up in size. But because there were not really much in the way of roots in there as the stones were taking up a lot of space I figured the same pot with more drainage holes would suffice.


The roots don't look half as bad in the photo as they did at the time.

I think 5 is better than the one hole and a bit of mesh will stop the tree losing soil through them.

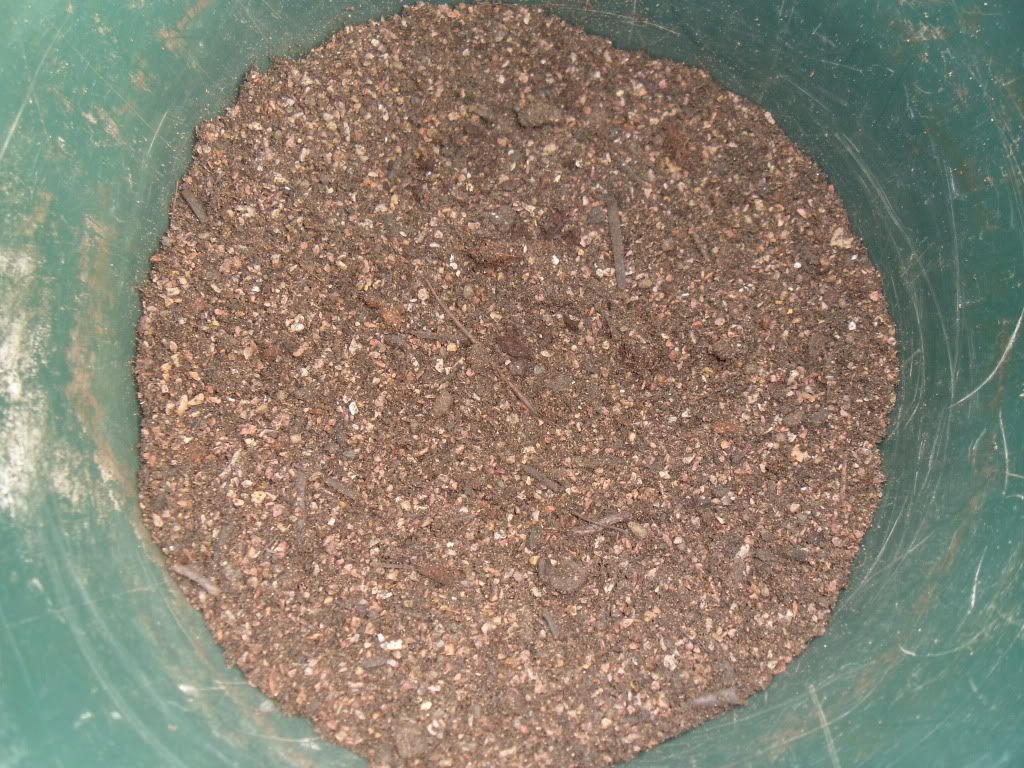
Hardly the most exciting photo, but you can clearly see there is LOADS of horticultural grit mixed in there.
And there it is until the spring when I will give it a go at wiring those branches down.
The cedar spent the following week in the shade with  no feed and normal watering. It's now on my new shelf in the sun all day where it should be happy and so far every thing looks well.

As always, feel free to comment and leave messages as I like any feedback I'm given.

Dean Kelly

Sunday 2 October 2011

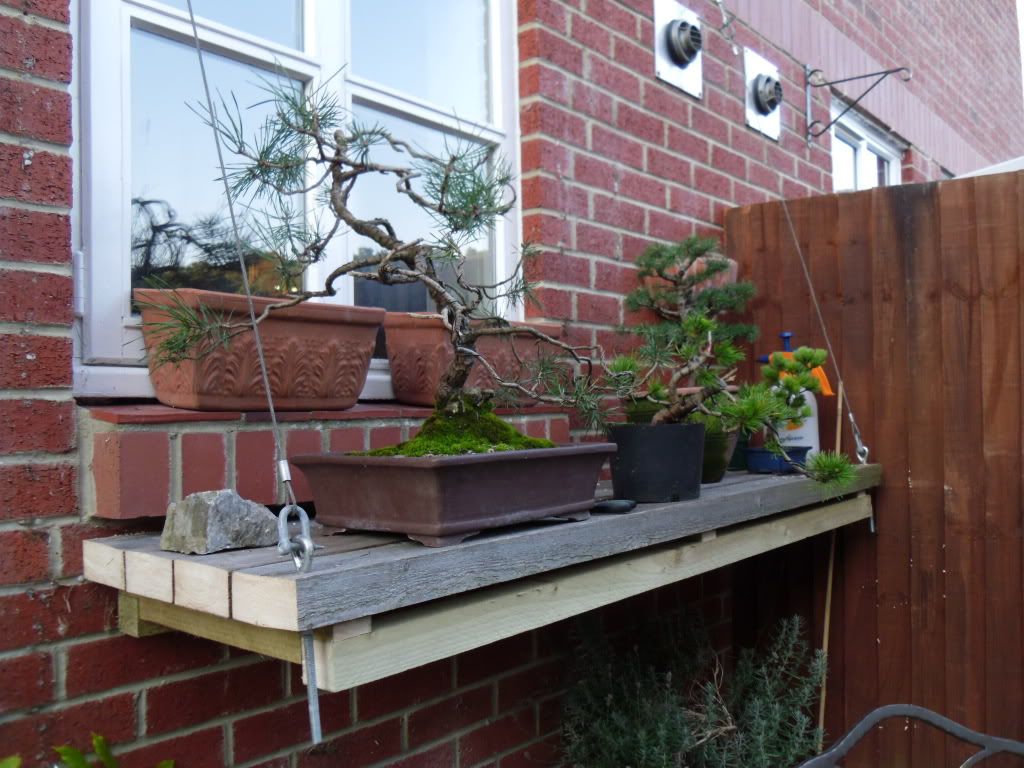
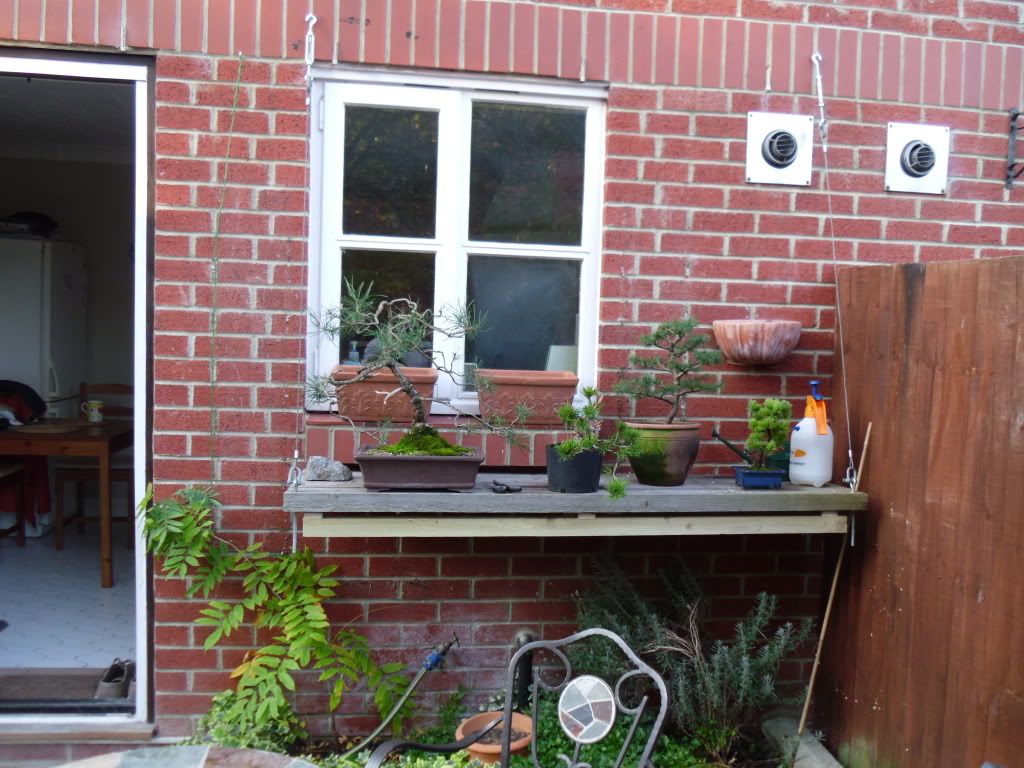
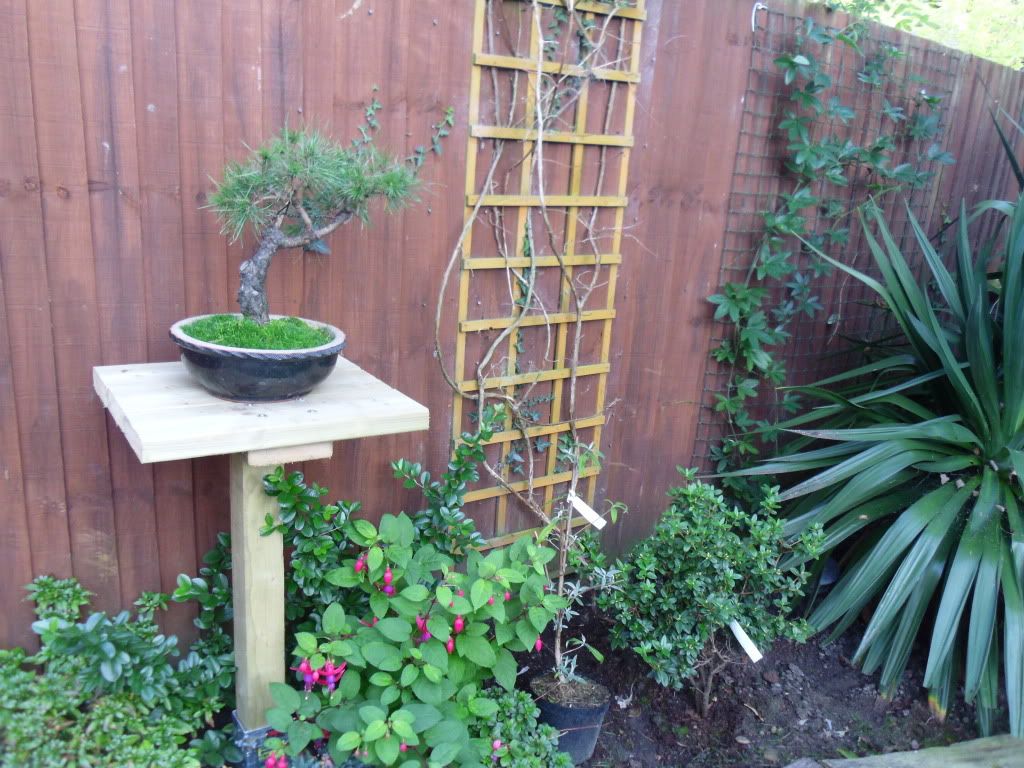
New display shelf and garden on the 2nd Oct in 27 degrees.

I've decided after discovering my Cedar needs a full fun aspect and that pines in general like the sun I have decided to knock up a bench/shelf in the sunniest spot of the garden. Although my garden is south facing it don't get a great deal of sun because of the large downy birch behind us and the garden being not much bigger than a postage stamp.

I got hold of some lengths of distressed timber from some one I know who had them lying around and didn't want them so thought they would be ideal for a bonsai bench because of there old sun bleached look much like they have in the gardens of Japan.

I build a frame up from 2" x 2" timber then using 5 x 100mm coach bolts fixed it to the wall. I then screwed the timber lengths to the frame. It held up to begin with but I wanted to put my Scott's pine on the shelf which is probably the heaviest I have I was worried the weight might be to much. So using some eye bolts, wire rope I had in the shed from an old multi gym ( I knew that would come in handy some day) and a couple of turnbuckles for £2.50 each from Sally Surplus Store I added two supports to the shelf. Now it can hold my 16 stone load so I'm sure the trees will be good.


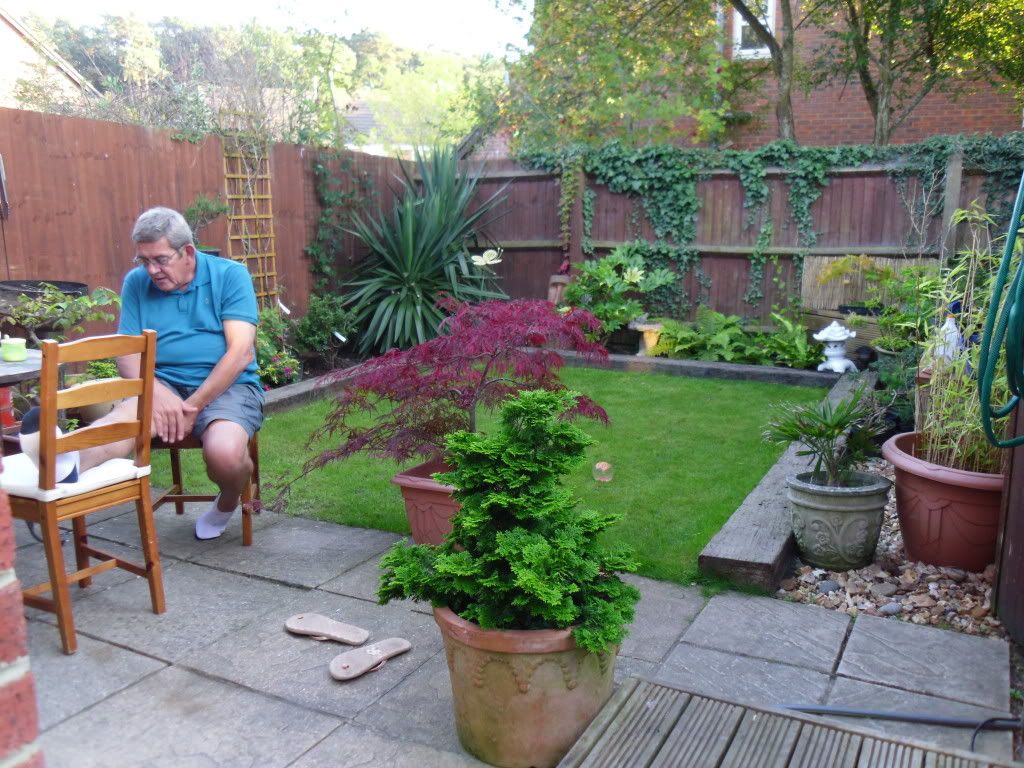
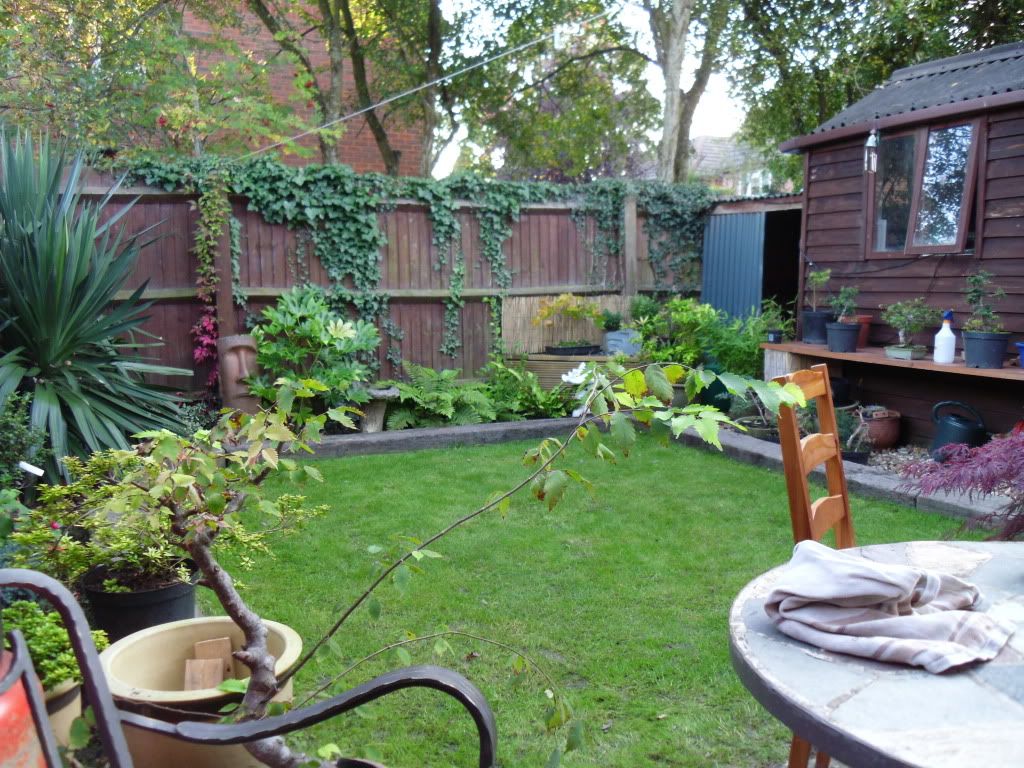
I also too a few photos of the garden today as I'd managed to get the lawn mowed and it looked like a summers day out there. Can you believe it hit 27 degrees today on the 2nd of October. Its unreal!! Do doubt we will pay for it.


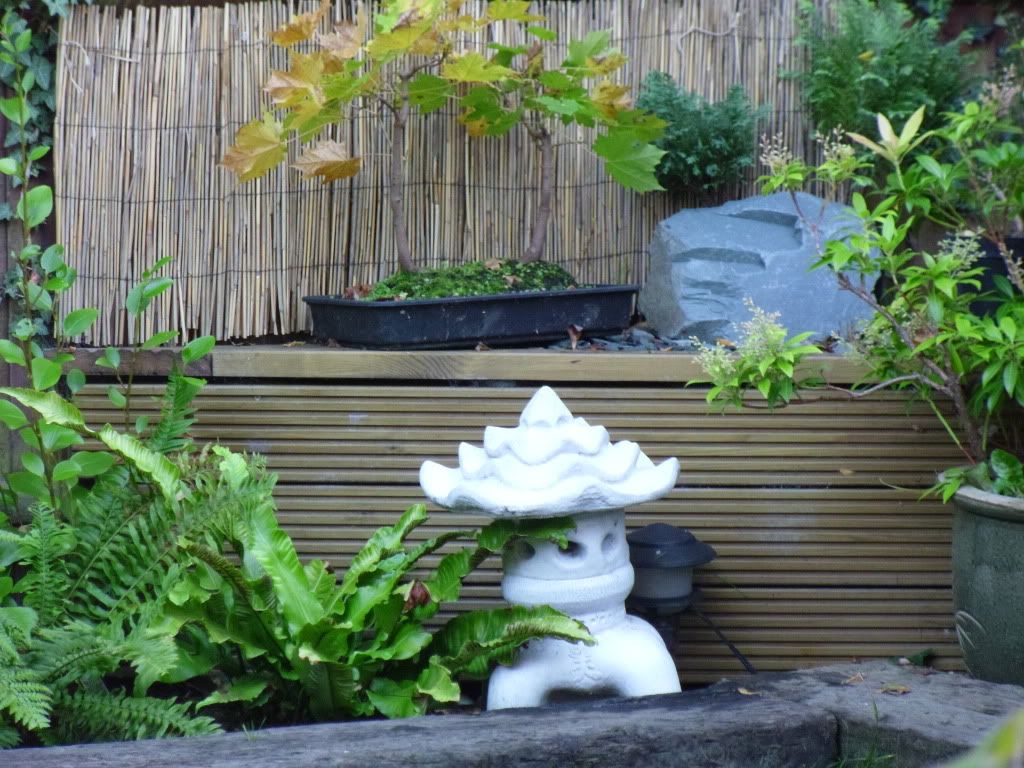
Oh and I know, I've just popped out to straighten the roof on the Japanese Lantern. No doubt the garden fairies, also know as my three year old daughter who is rapidly developing a habit of following daddy around the garden pintching the buds and tips from trees. With not quite as much delicacy as daddy. But not a million miles away if I'm honest.

Thank you for taking the time to read through this short article and I hope some new comers to bonsai will be inspired to erect something similer. I think its a great solution for those with limited space for displaying there trees.

Please feel free to leave any comments.

Dean

Tuesday 20 September 2011

Mugo Pine from Koirin Azalea Centre.

On Friday I popped in to Koirin azalea Center. Its just up the road from my golf club, Crane Valley Golf Club in Verwood. I've been meaning to go in and have a look around to see what there stock is like since I took an intrest in bonsai and learned that you don't need to grow from seed. I knew they sold other material other than azaleas in the nursery so was keen to see if there was any material that has potential for bonsai. I spoke to the owner and explained that I was looking for bonsai material and to my surprise the guy used to be a very keen bonsai enthusiast him self and used to be a member of the Wessex Bonsai Society of which I am now a member of. This was great to hear because he could then point me in the right direction regarding bonsai material. He took me to a potting area in the yard where there were ten or so azaleas that he explained had been mistakenly left to grow without cutting back. He told me that these shrubs make better bonsai because, although they look shabby they have long leader branches which help thicken up the trunks. I had a rummage through them looking only at the trunks as the branches can be grown later on. I chose one that I thought could possibly with time make a good bonsai but only time will tell. 

The Mugo Pine as I bought it for just £6.95
I went for a wonder around to see what else other than azaleas were for sale and came across some large Mugo pines. I looked through them but because of there size and the nature of mugo pines there was to many long branched with not much folage on them. I've seen many mugo pines in nurseries and garden centers and always dismissed them because they always have this long leggy experience. The owner of Koirin Azalea Center saw me looking through them and said "I thought you might take an intrest in them. There are some smaller but better for bonsai ones over there", and pointed to one of the beds. They were much better with some good amounts of foliage on them. And I couldn't believe they were only £6.95! Funnily the one closest to the front was the I thought I could do something with so here it is as it was when I bought it.

When I got them home I decided the azaler just needed potting in a larger garden pot and feed up until its health was better after being in the under sized pot for to long.

I checked with the guys over at weetrees and they said that pruning pines in September is fine because by now any new growth will of reached this years potential. Now I know many people regard cascades a lazy style as lots of material we use for bonsai are low growing and have a spreading tendency which suits cascades naturaly. But I had a look through it and from the curve in the main trunk decided a cascade or semi cascade was the only way I could really go with this pine.

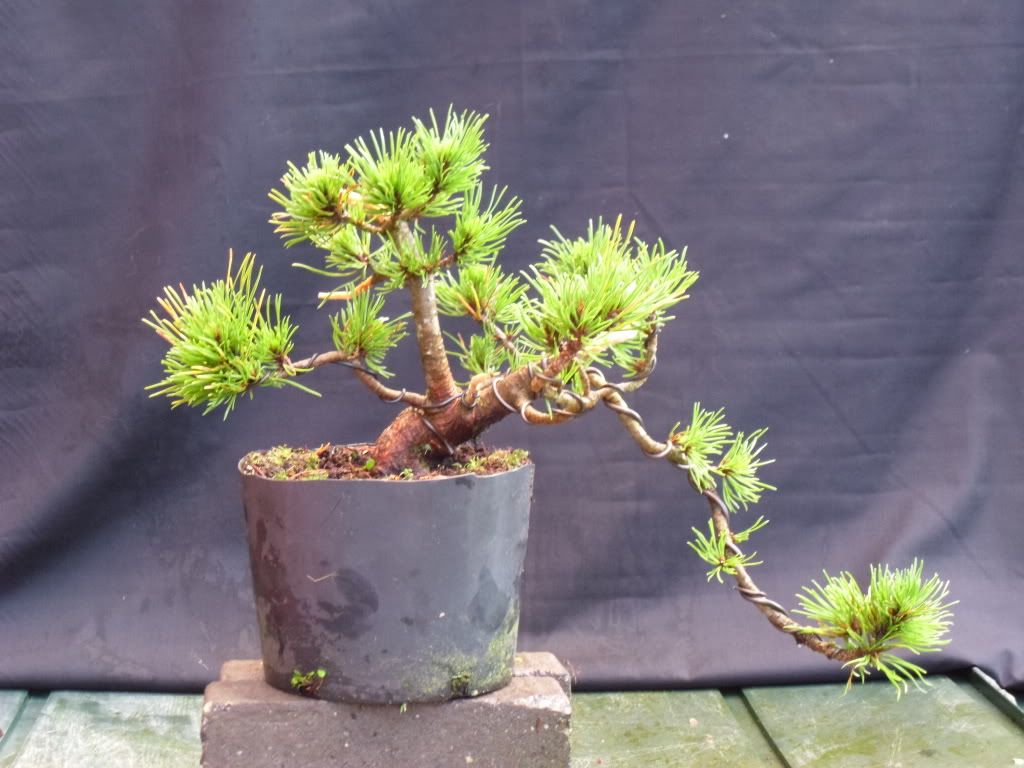
Initial styling of Mugo Pine 17/09/2011
The first thing I did was to cut the top from the pot so I could see the bottom of the trunk and get to the whole tree. It was pretty apparent which branch I would use as the main trailing trunk. One branch had a lot more folage points at intervals of about two inches apart. I then decided to cut out anything that definitely fit in with the image. This left me with just a few branches and made it a lot easier to create a pitcher of what I wanted the tree to look like in my mind. The image I was thinking of obviously was older and more mature than the tree before me but I believe its best to aspire to an end goal rather than a start point. This way your always working towards the same goal rather than changing it every time you work on a tree. I then cut out anything that didn't fit in with the picture in my head and wired the remaining branches. Then worked some movement in to the tree until I got what I, at the time believed to be as far as I could go with it for now.

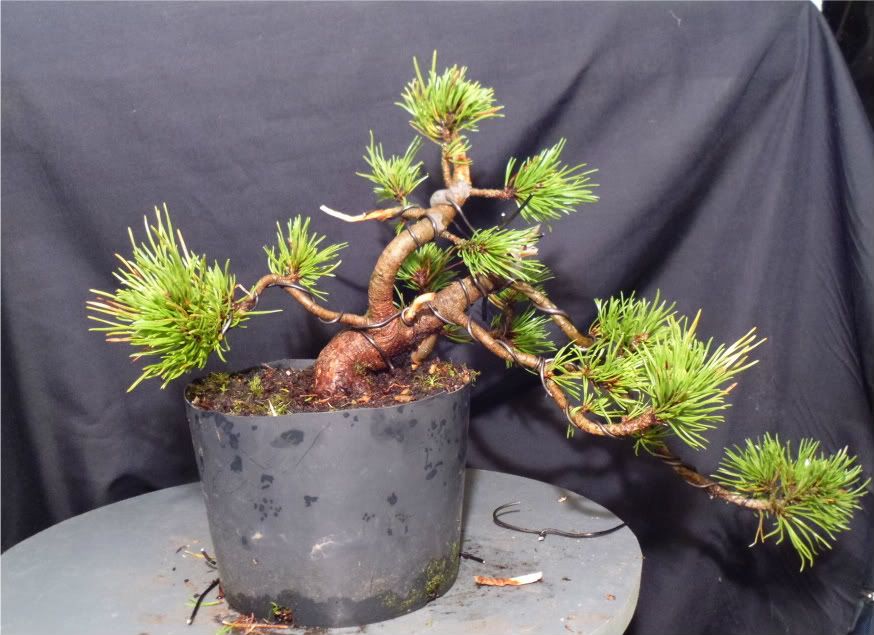
MKonig's Vert
I posted the photo above in a thread on weetrees to show the members what I had done and ask for any critisam so I could improve on it. A couple of people commented on the tall, striaght upright trunk with two nodes with multiple branches on it looked wrong and I should definitely reduce the branches at the same point down to at least two. I agreed with the advise and had already wondered about it myself but didn't know what I could do about it. One member MKonig suggested cutting off all the back and turning it in to a full cascade like in the vert he did for me shown to the right. I agreed this does look a much better bonsai image but when I went back out side to do the appropriate cutting it became apparent to me that this would not be as realistically viable because the small branches that I had wired up to the sides of the main trailing trunk. It would look great from the side but be very 2 dimensional. Mike could not see this because he only had the photo I had given him to work with.


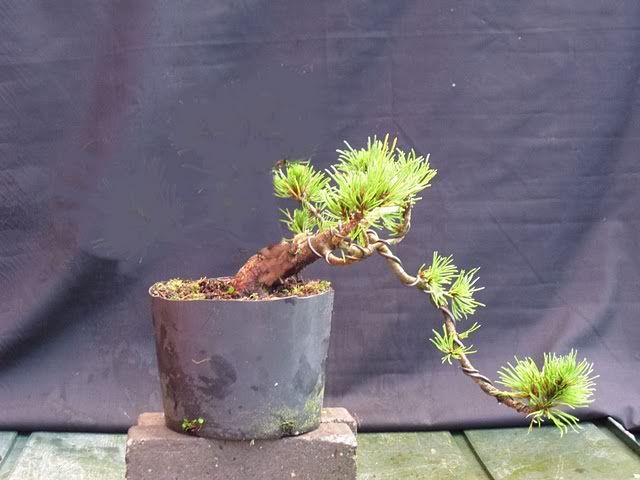
Mugo Pine as of 18/09/2011

The next day I went out and had another look. I decided because it was mainly the straightness of the top trunk that was a problem if I could get movement in to it I would be left with a better looking tree. Luckily, being a mugo pine that are much more flexible than other pines I was able to get quite a bit of movement in to the trunk. After removing a couple of small unnecessary branches I think this really is all I can do with the tree for now. I was advised to leave it well alone for a year or even two to let it regain strength after such traumatic surgery. I shall feed it up now until October with Tomartorite to hopefully give it the strength it needs to prepare for winter.

I hope you enjoyed reading this and if you wish to leave a comment please do so I'm glad to hear any criticism and and advise you may have.

Dean.


Sunday 18 September 2011

Keep you eye's peeled. You never know what you might find.

Since I started taking an intrest in bonsai I've developed a habit of looking at potential material every where. Bazarly even in places where I have no chance of collecting it. For instance I will walk around public parks and see a tree with great movement in the base of the trunk and stop to eye it up and work out in my head what options there are there for bonsai. I guess its just my way of training my imagination.

Well on Friday I was working at a huge farm house, one of my regular customers and walking past the compost heap I noticed what looked like three azaleas sitting on top of a pile of grass cuttings. I went in for a close look to find I was right. Three rather large azaleas. One was unfortunately dead but two , although looking a bit of a mess were alive and have shot out new shoots close to the base and on the trunks them self. I found them as you can see in the pictures, just sat in the soil they were dug up with. 
they were on the compost heap along with grass cuttings, pond weed and heaven knows what else. I could clearly see that what ever the reason they were there for they were not very loved and no body had any intentions of doing any thing with them other than letting them die like the third one. When I had finished the windows I went around to the house and asked Mrs Ward if I she had plan's for them and if not could I take them off her hands. She was more than happy for me to take them on but said she couldn't understand what I would want with such old bushes. "We have had them for years Dean. I mean years and years, since the children were young. We dug them up to make room in the spring and they have been there since I doubt there alive". I explained to her that two of them are alive and kicking and that I grow bonsai trees and I would cut them back so that over the following years could hopefully give them a new lease in life. She gave me a smile that said 'good luck with that!' and repeated that I was welcome to them. Luckily I had a couple of rhino tubs in the back of the van for work so popped them in them. Once I got them home I took some photos before I did anything to them. So the photos you see are exactly how the trees looked sat on the compost heap. 
The smaller twin trunk.
Largest of the two.
Once I sat them on the table I could get a better look at them and could see what I had to work with. I found that the trees were covered in pond weed that had wrapped its self around the branches. I think this pond weed may of been a contributing factor that kept them alive.

Before I started working on the tree I asked for advise on the bonsai forum I use weetrees.co.uk Where I was told the best course of action is to clean them up and get them in large pots to help growth. I was told its best not to rush them in to bonsai pots. at least not until there is sufficient new growth closer to where I want it, half way down from where it currently is.


Pond weed on the larger azalea
I got started on Saturday by clearing of the weeds and as much of the pond weed as I could without knocking off any buds or foliage. The smaller azalea was not so bad but the larger one was really thick with it. This is the reason for me thinking the pond weed had helped keep them alive. The larger one is easily the healthiest looking of the two with the leafs being a healthy dark green. There was a little sign of the tree layering its self. By that I mean it had sent out roots to feed on the moist weed but I don't think enough sign to make me think this is the only way the foliage has remained.


I had an old washing up bowl in the shed that suited the smaller azalea for size so drilled some holes in the bottom and potted it with a mix of ericaceous compost, organic soil and horticultural grit. The larger azalea got potted in one of the rhino tubs that I brought it home in. I just cut the top off so it didn't end up in a huge immovable tub. There is no reason to try and bulk up the trunks on these trees so they I don't think planting them in huge tubs will be justified. They both now have double the amount of soil they were in originally in and also better suited soil as its mostly ericaceous.

Smaller azalea in temporary tub


Its hard at this stage to get a good enough photo of the trees as there still shrubs and to large for any good detailed photos. Ideally I would put a black screen behind so your eyes are not distracted by all the back ground. But hopefully you can see, especially from the close up of the twin trunk and what has turned out to be great nabari on the smallest azalea that this will make a good bonsai if it makes it through the winter to get some good growing in the spring and summer. You can't really tell from the photo but it had a bad scar on the left trunk that has created reverse taper. This for those who aren't aware is where the trunk (or a branch) gets thicker as it goes up rather than the desired, thicker at the bottom becoming thinner the higher it gets.


The larger of the two I'm not really sure about now I have managed to clean it out. Mainly because the multi trunks are all leaning quite a bit and I am not sure if I can see much potential there. I will look after it and get it back budding and hopefully when I get the chance to take it up to the Bonsai club one of the guys can help advise me as to where to go with it.

I would upload some photos to weetrees and for ideas from the more experienced bonsai enthusiasts that use the forum but I really don't think any one could get a good enough view from a photo. This really is one of those trees that you need to get up close to and view all around to see any potential.

I will keep you informed as to how these two are getting on later in the year. I hope you enjoyed reading and please feel free to comment especially with any advice you may have. I am always glad to have any
 
Dean.