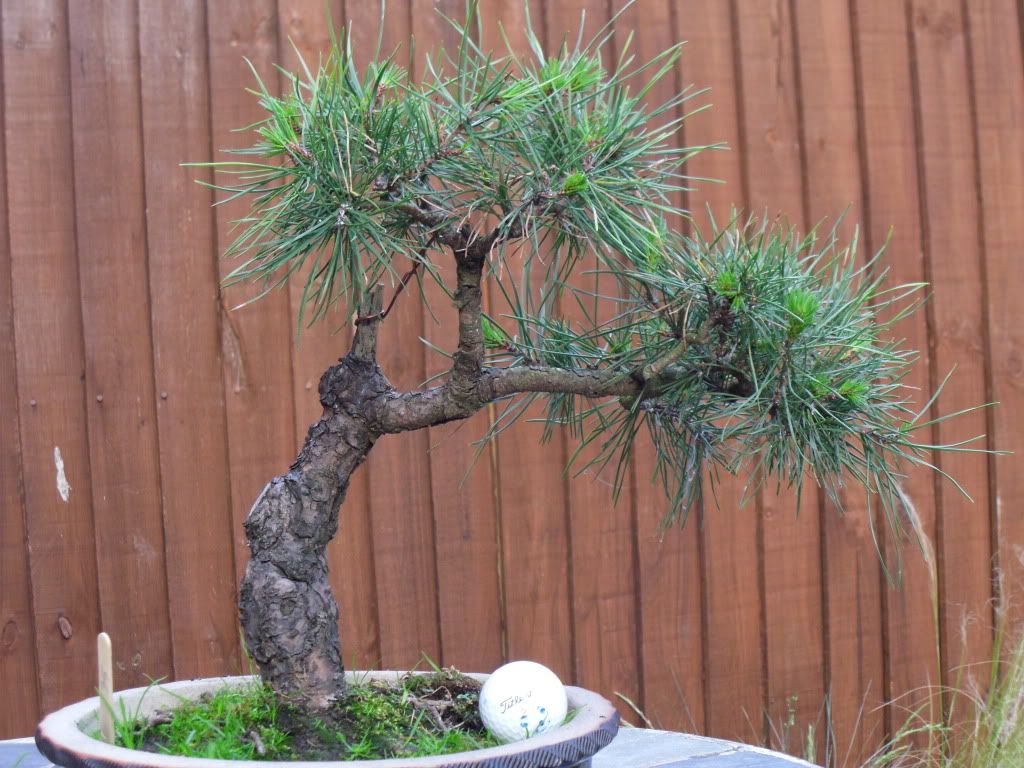
The main bit of advise I was looking for was on a Scots I bought from the member of Wessex Bonsai Society that was emigrating to New Zealand back when I bought my Cedar of Lebanon at the start of the summer. The tree like the Cedar was potted in some awfully heavy soil with little drainage holes so I rectified that, Well at least I thought I had but after speaking to Antony at the workshop I now know I need to further improve on this. He explained that pines like water but don't like to be wet. Sounds strange I know, but what he meant is in nature pines will grow best where they have plenty of rain but prefer if it drains through very fast and don't leave the roots sat in the wet. So I've been advised to leave it how it is until the end of the winter months as its not bad just not as good as it could and should be and correct the mix in the spring to allow the summer to be as productive as possible.
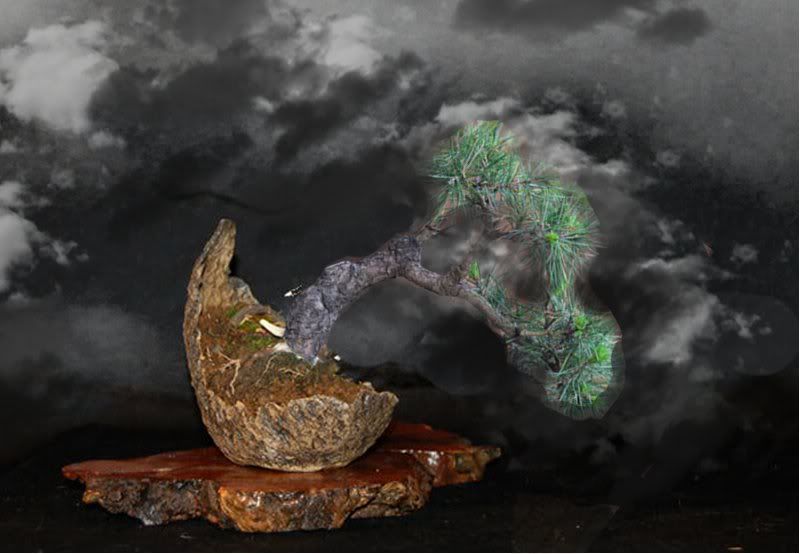
I'd also been trying to bend the branches up from where they started when I first bought the tree to a more upright position in anticipation for re potting it set at an angle to represent a tree growing on the side of a mountain. I have had a go at creating a virtual image of roughly where I would like to go with this tree. Granted the rather pathetic looking foliage pads on the virtual image are only there for demonstration purpouses and I would need to develop them a darn sight better in real like that I can manage in photoshop.
John has been involved in bonsai since as early as the early 1990's after his father gave him his collection of bonsai trees when his eye sight was no longer good enough to continue caring for them him self. Between then and now John has become one of the best known bonsai enthusiasts on the circuit. But bonsai is not all John is known for. Many trees you will see at shows and in the displays of bonsai enthusiasts world wide will be living in pots made but John Pitt. He explained to us all, that after getting in to bonsai and wanting more and more pots for his ever growing collection but not having the funds to buy them, he started making his own and after time had not only taught him self how to make his own pots but found there was a real demand for his hand made pots. John now works creating ceramics on a full time basics. He had brought a few of his bonsai and accent pots along for any one who wanted so buy but I got the impression is was only as a gesture and he was in no way peddling them like some visitors to the club can some times do.
John had a look at my Scots pine and asked what I had planned for it until now. I explained that I saw it as a pine growing on the edge of I mountain holding on for its life. He agreed and said it needed a dramatic planting to look realistic because of its strange growth. He explained how the two branches needed to be defined as branches and a trunk. He advised which would work best as a trunk and then showed how I would need to bring the branches down and in to compact the tree before trying to create foliage pads. As he showed me what he thought I should do, he explained why he thought that and why it would look such in nature. I found this really helpful as apposed to just being told to "do it this way" because he said so.
John also said there would need to be some quite heavy branch bending involved but very achievable. He asked if I had had a go at using raffia to give extra support when inflicting strong bends on thick branches. When I told him I have seen it done but yet to of had a go myself Antony volunteered to help 'walk and talk' me through it at the next workshop which will be the 8th of Nov. John said he thought it would be best if I wired it with two wires instead of one larger wire. The reason for this is to spread the pressure more and reduce the risk of breaking the branch. He also explained to my why you need to have the two wires running tight next to one another. It is because in order for the branch to bend it needs to stretch one side and give the other. Therefor there must be space between each wire. It makes much more sense now I know that. For anyone who wishes to see some of the ceramics John Pitts makes or inquire about his workshops you can find his website very helpful. I can't wait to get started on this as it will be something new to do.
I also wanted some of the experienced members to look at a worrying scar on a potential bonsai tree I was given. I've been meaning to take it up for someone to look at for a few months but I've kept having to miss the workshop Sundays due to family and golf commitments. The scar to me looked like canker. Canker is a fungus which infects the branches of fruit trees causing sunken areas in the bark and these develop into distorted areas which may girdle the branch, eventually killing it.
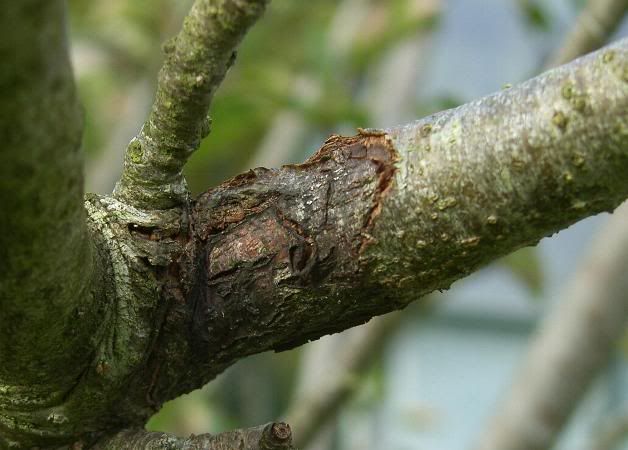 |
| Here is a photo of a confirmed canker |
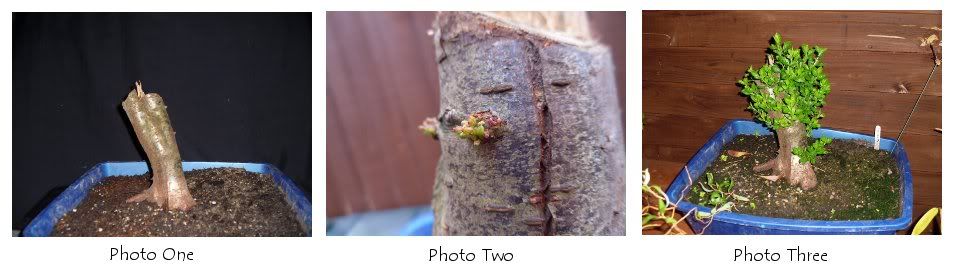
I would of also liked identification on a stump that I saved from the landfill. It was sat on a pile of timber that had been cut down from one of my customers gardens. There was just the stump that you see in the first photo along with its rather large tap root that was as big as the stump its self and some small fibrous roots I cut most of the large tap root off to enable it to get in to a shallower pot and then added some soil. The soil mix was 3 parts horticultural grit, 1 part ericaceous compost, 2 parts John Innis number two, a hand full bone meal and a hand full of spent coal from my bbq (I've found the bbq coal an amazing instant nutrition for the garden and where ever I've used it I've had great success). Within a couple of weeks the stump had developed buds all over the shop. And after just a month it looked like it does in photo three. It would be great to know what this tree is so I could feed, protect and care for it accordingly but unfortunately no one had a clue what is is still. One chap said to wait until it flowers, which he said it will most defiaintly do and then let him know as he will be able to confirm if it is what he suspects.
But despite not getting a name for my mystery stump I really enjoyed the workshop and am very glad I made it. Look forward to my nest blog entry and as always feel free to comment on any thing you wish.
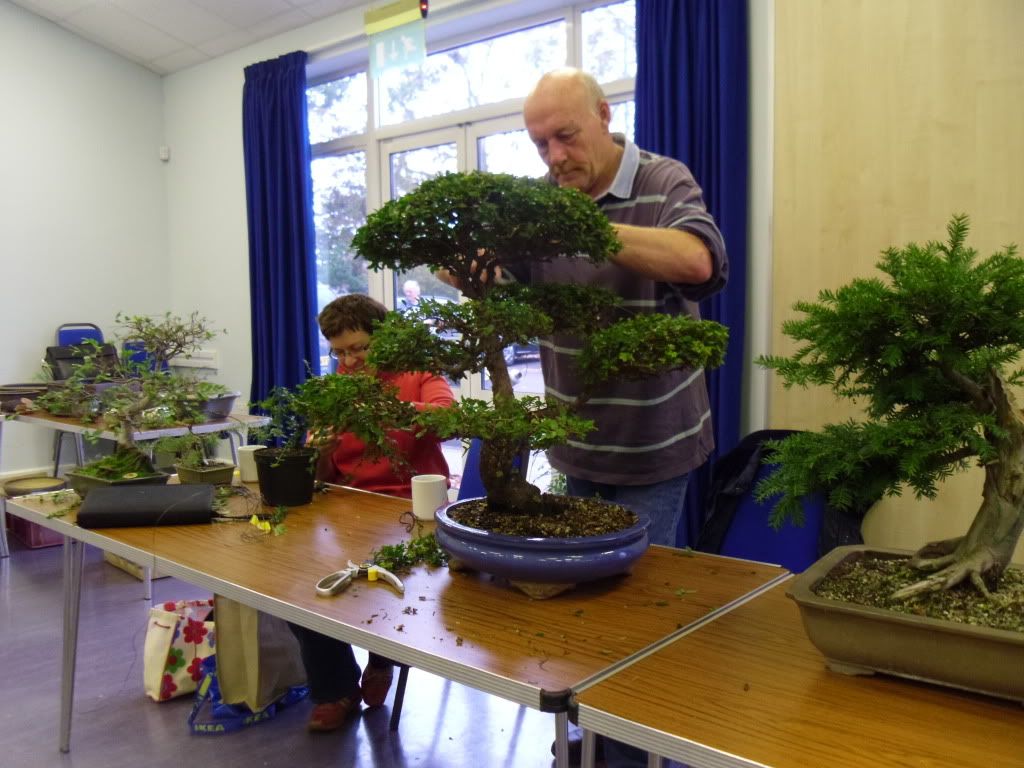
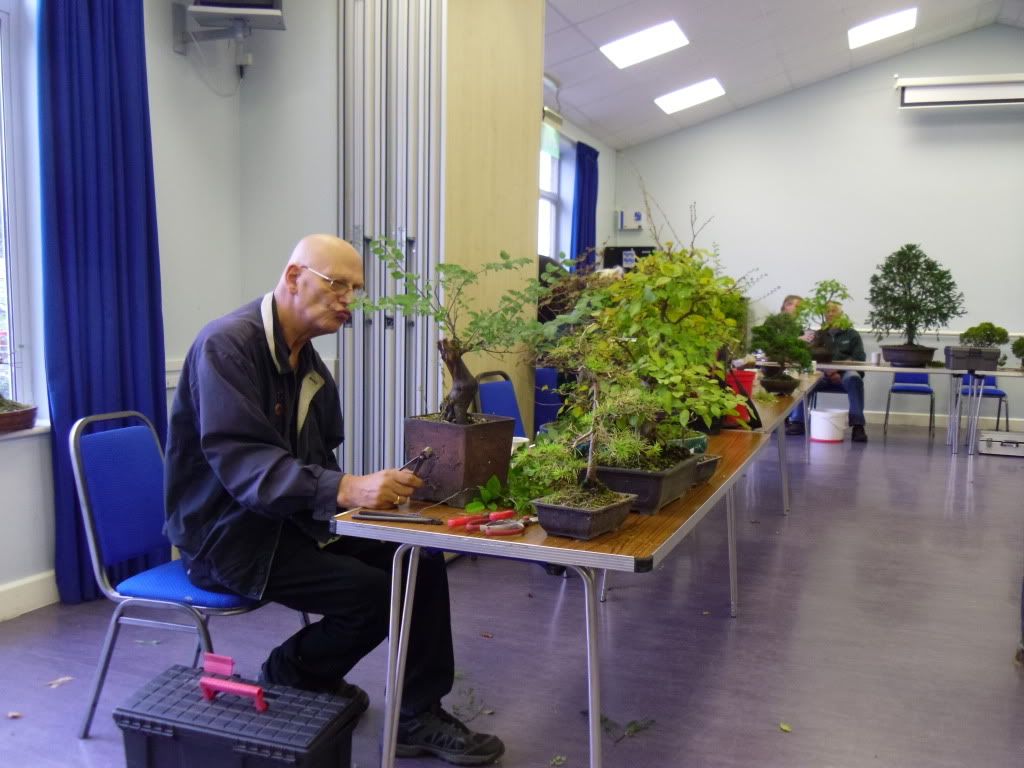
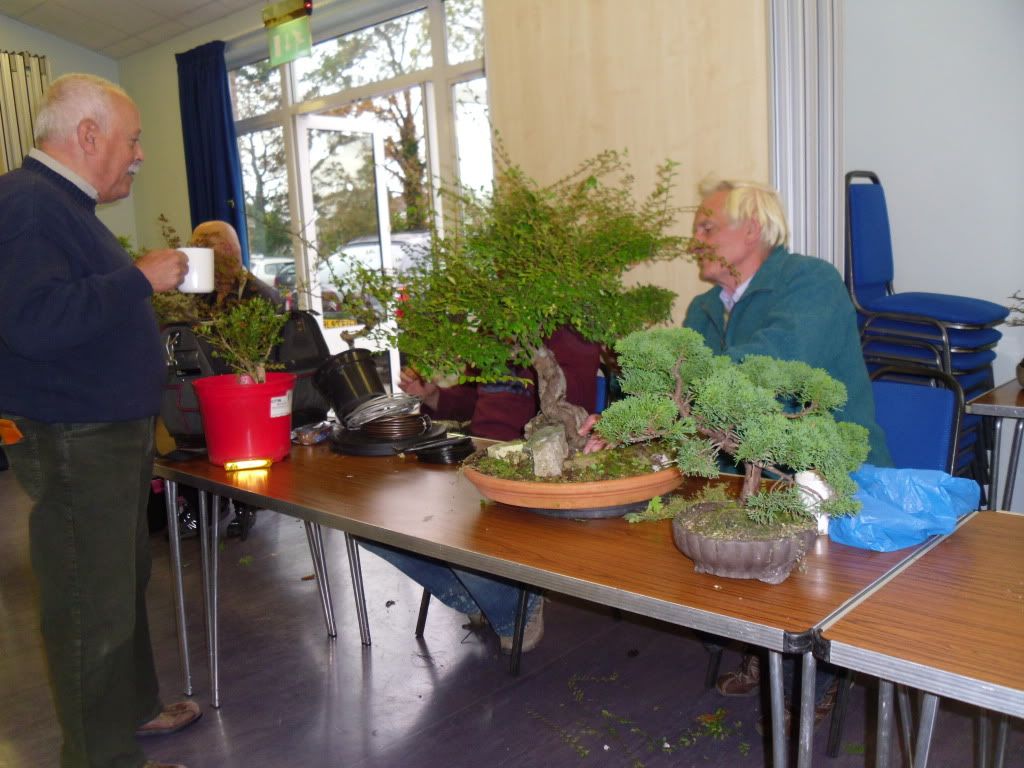
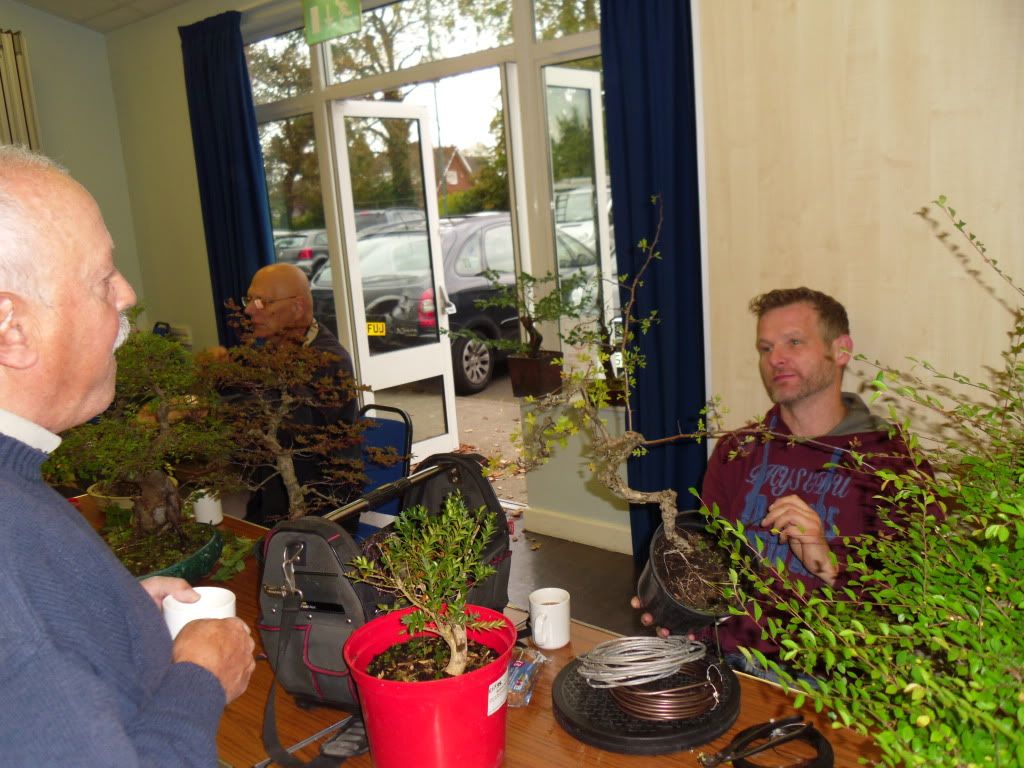
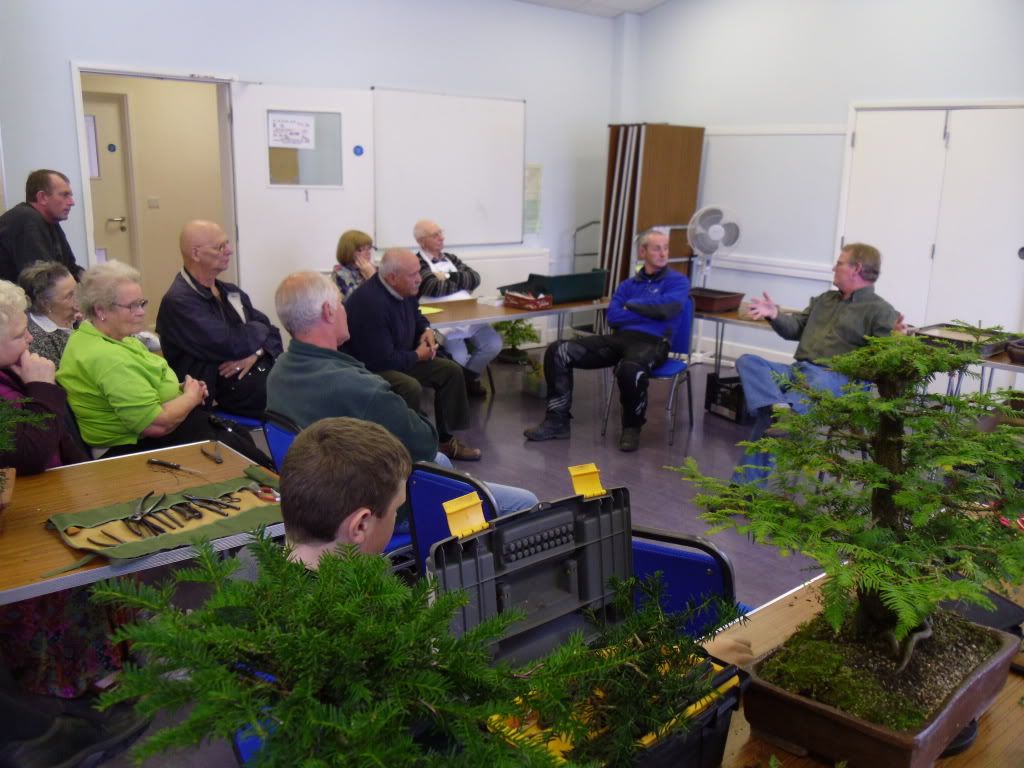
Here a few photos of from the day for you to look over.

Thanks for looking,
Dean
No comments:
Post a Comment